Making of an Ammo Strap
Myron Erickson
A good friend of Rover Haven sent me some Zastava M48 ammunition pouches just for fun the other day. The Zastava M48 was the ubiquitous 8 mm bolt action rifle that the Yugoslavian government built by the millions (at least 1.2 M according to Wikipedia) after World War II. The rifle was based on an older pre-war German rifle which had been produced by Mauser, so today the M48 is often referred to as the Mauser M48. Since most of the rifles were never actually used, both the firearms themselves and their various and sundry accessories survive in pretty good shape today.
This includes the ammunition pouches, which are to be found inexpensively from numerous online vendors. When I took them out of the packaging my first thought was, "There's a reason these were thrown away..." They have a pervasive moldy smell, like a used book store or an Irish cottage with a decades-old thatched roof. The leather is hardly what you'd call soft and supple, and doesn't really want to leave its habitual form. I wasn't hopeful, but one night I was feeling experimental so I decided to take one apart and see what could be done. The resulting straps turned out much better than I had hoped, and of course I packaged up the better of the two and sent it off to my buddy who had sent me the pouches.
First, a few shots of our donor ammo pouch.


The first thing to be done is disassemble the pouch. This is a messy job, and the ancient linen thread seams are still extremely strong. They must be cut out carefully with a razor knife.

The knots at the end of the double-needle seams are still perfectly intact, and very strong. Skilled craftspeople produced these, and the durability shows all these decades later.


Finally the pouch is completely apart and all the pieces are laid out and assessed. Here are the back piece and front flaps with fastening straps.

And here is the front pouch piece. This piece will prove the most useful, although I ended up using all the parts except the back piece in some fashion or another.

Next, the leather is cleaned in a solution of Simple Green. The resulting wash water comes out filthy black. The soaking also relaxes the leather's folds and form lines. Here you can see the pouch piece soaking in its sudsy bath.

Light scrubbing helps loosen and remove years' worth of dirt and grime.
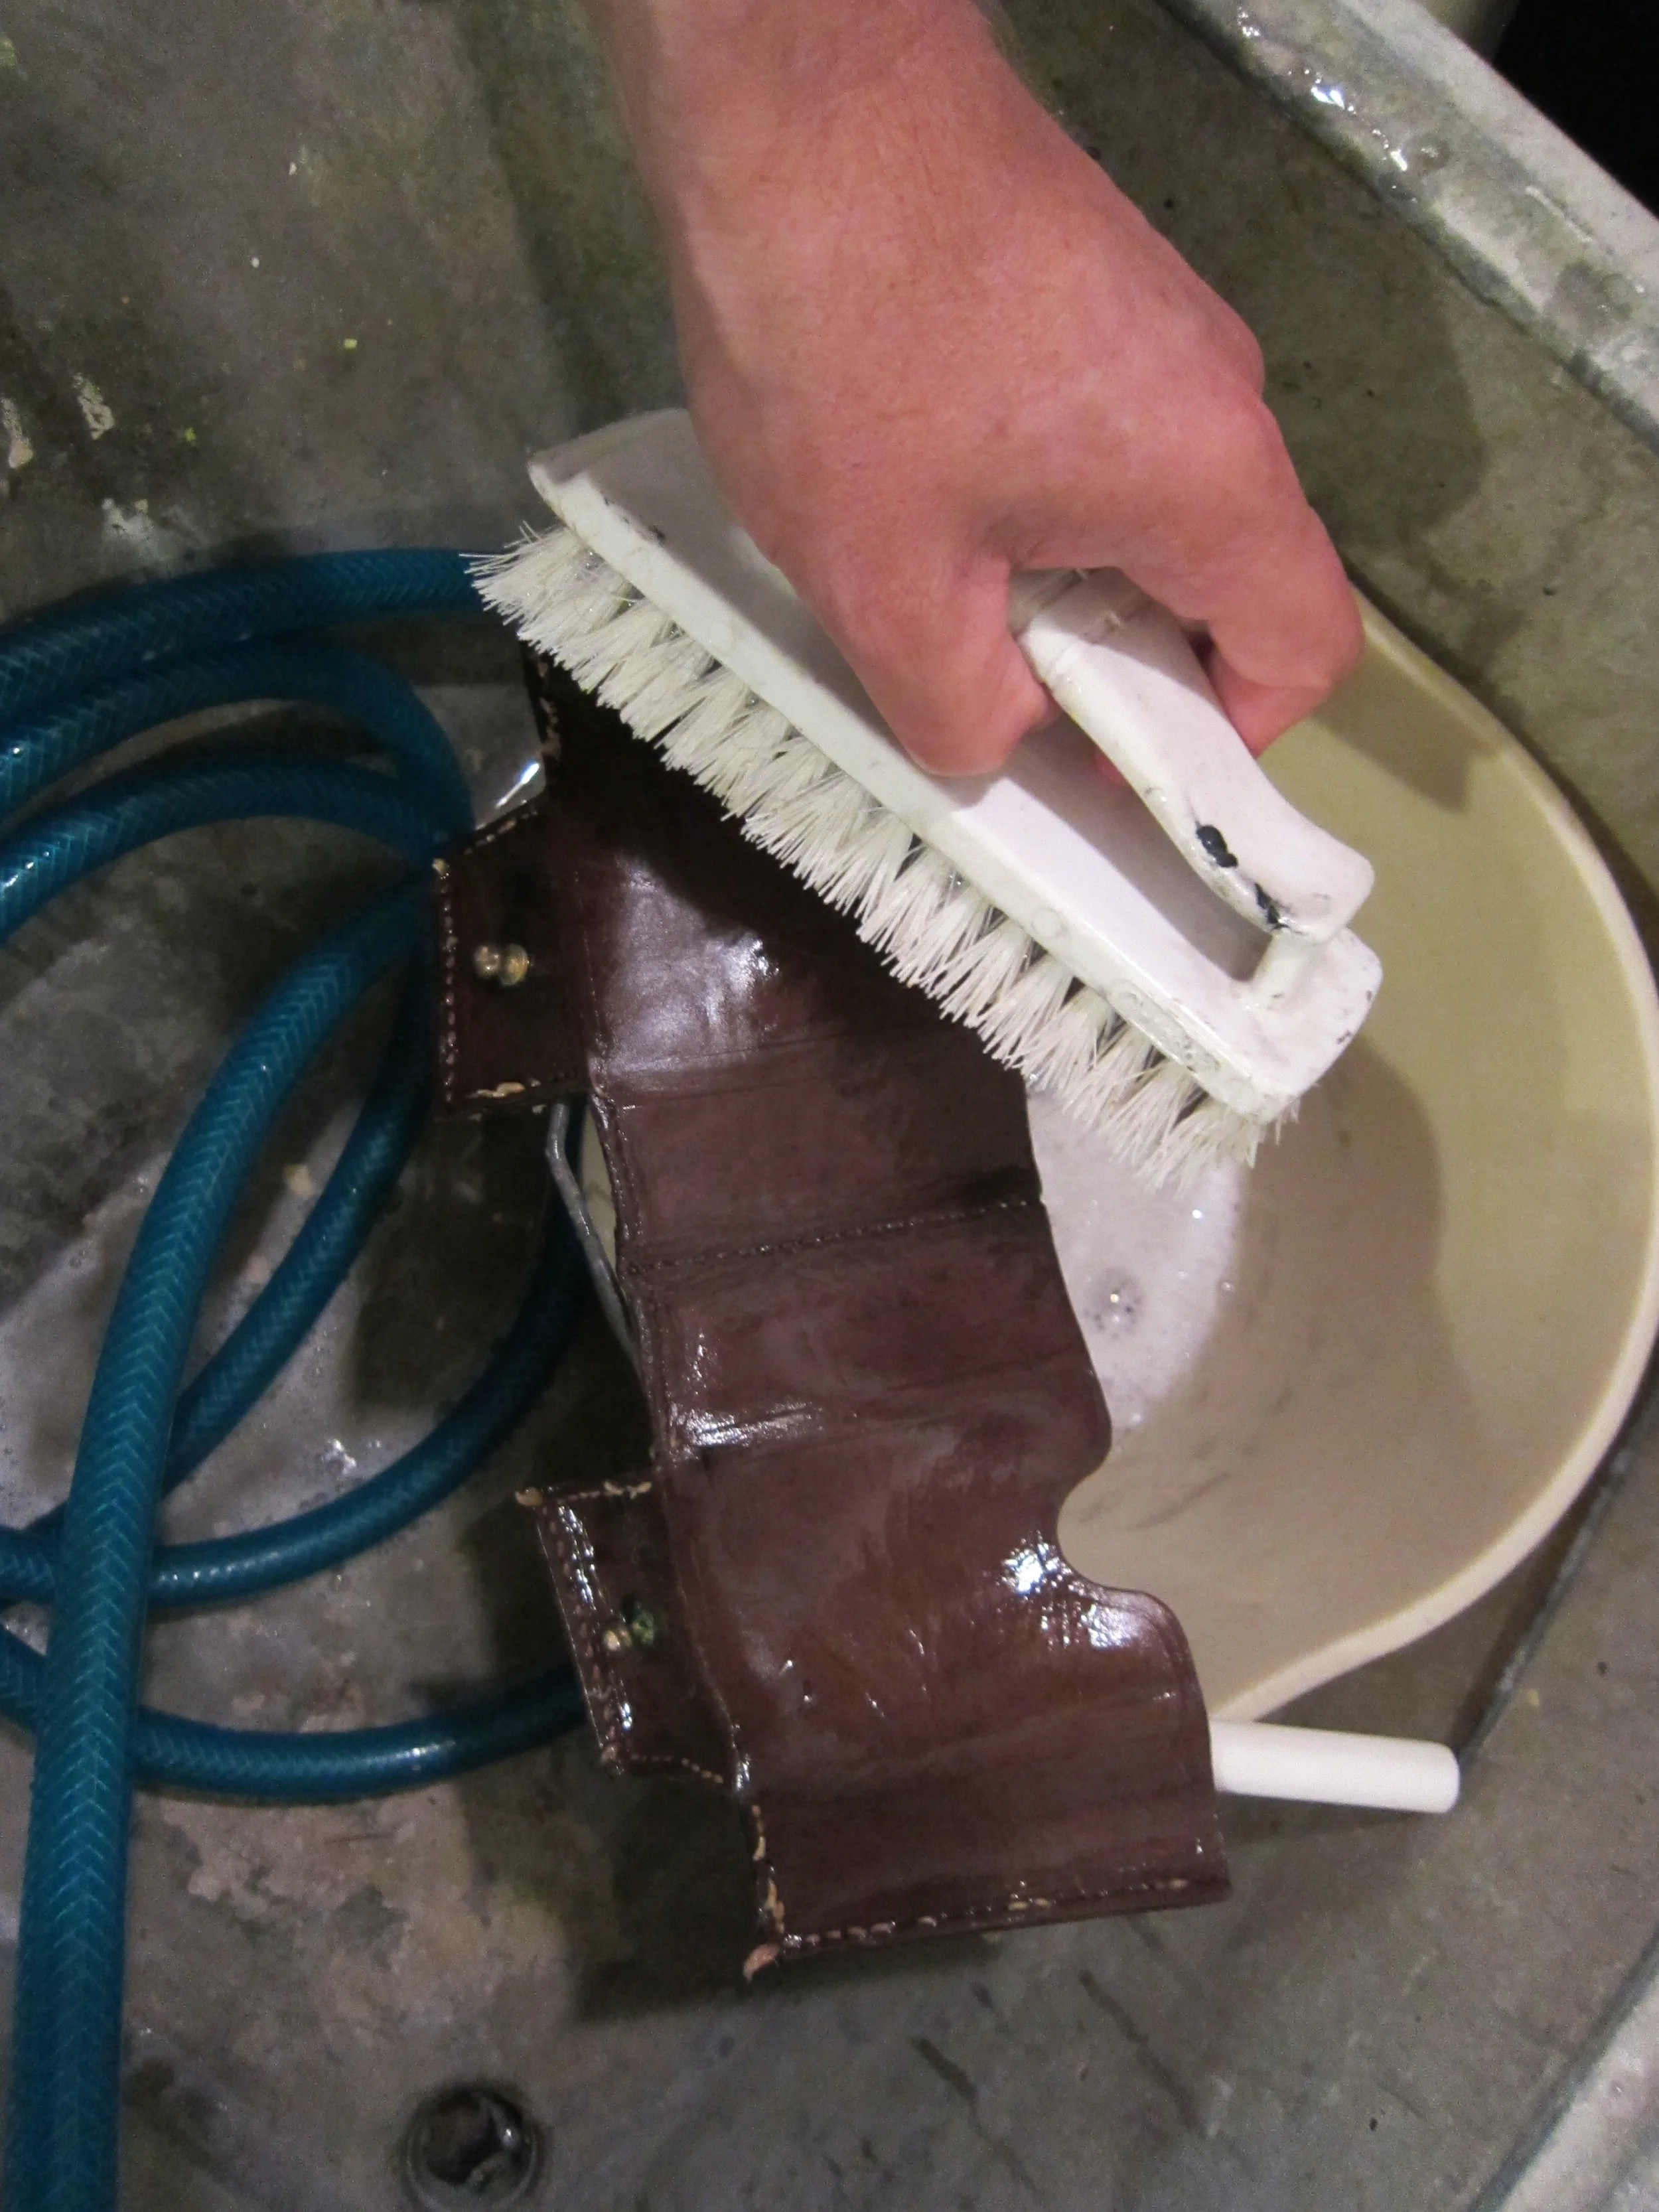
And here it is rinsed and still wet. Finally, it will lay flat. The leather is much easier to work with when it's slightly moist, but not completely soaked. When totally dry the leather is stiff and difficult to work with.

The front pouch piece is the nicest, biggest piece of leather that the pouch yields. First a neat, straight edge is cut and then two strips each about an inch wide are cut by hand from this piece using a strap cutter held in a vise.


The problem with most ammo straps, in my view anyway, is that they are too thick and heavy. I suppose this works well on certain styles of watches, but I've never enjoyed wearing a thick, heavy strap (hence, the miracle of shell cordovan). To solve this problem in this instance, the two strips are skived down to about half their original thickness. Skiving must be done carefully, and if we botch it at this point, we're starting over with a new ammo pouch.
Here we see the original thickness of the leather. Doubled over to make an Arts & Crafts strap, the resulting strap would be about 5 mm thick. Too thick for me, thanks.

Easy does it with the Osborne Skife...

...And the final doubled-over thickness will make a perfect watch strap.

Adhesive is applied, the strips are folded back on themselves, and then pressed in a vise modified with shell cordovan lined jaws.


Finally, after being in the vise overnight, we have two tailpieces and two buckle pieces. Note the original piercings from one of the pouch's seams, at what will become the straps' lug ends. We will be seeing these again later...

Next, the strips are turned into strap blanks using a clicker die on a hand-operated press. All Rover Haven clicker dies are custom made to my own specifications and fabricated in the USA.
The resulting strap blanks are ready to be marked, pierced, and sewn.

First, the seam lines are marked with an Osborne scratch compass.

And then the holes for sewing are lightly marked using an Osborne chisel. Different makers have different methods for all of these steps. This is just what felt right to me at the moment. The chisel marks look deep because of the macrophotography, but they are just marks on the surface and do not go all the way through the leather.

The chisel marks are then pierced at one end using an Osborne awl, and now the strap is ready for needle and thread. The final appearance of the strap is taking form.

After the buckle piece is pierced and ready for sewing, the buckle and keeper are added and the strap is sewn laterally to secure them. Unfortunately I forgot to take pictures of this step - sorry!
Then the two strap pieces are sewn lengthwise, using the same double-needle technique the original crafters of the ammunition pouches used. The lug seam of the buckle piece can be seen here, where I used the holes left over from one of the pouch's original seams. Note the careful spacing of the stitch holes, to ensure the overlapping layer of leather that forms the lug fold is neatly held in place by a complete stitch.

And now the tailpiece joins it. The original ammo pouch was completely devoid of interesting marks, stamps, or insignia so I added my own. Looks the part, I'd say. :)

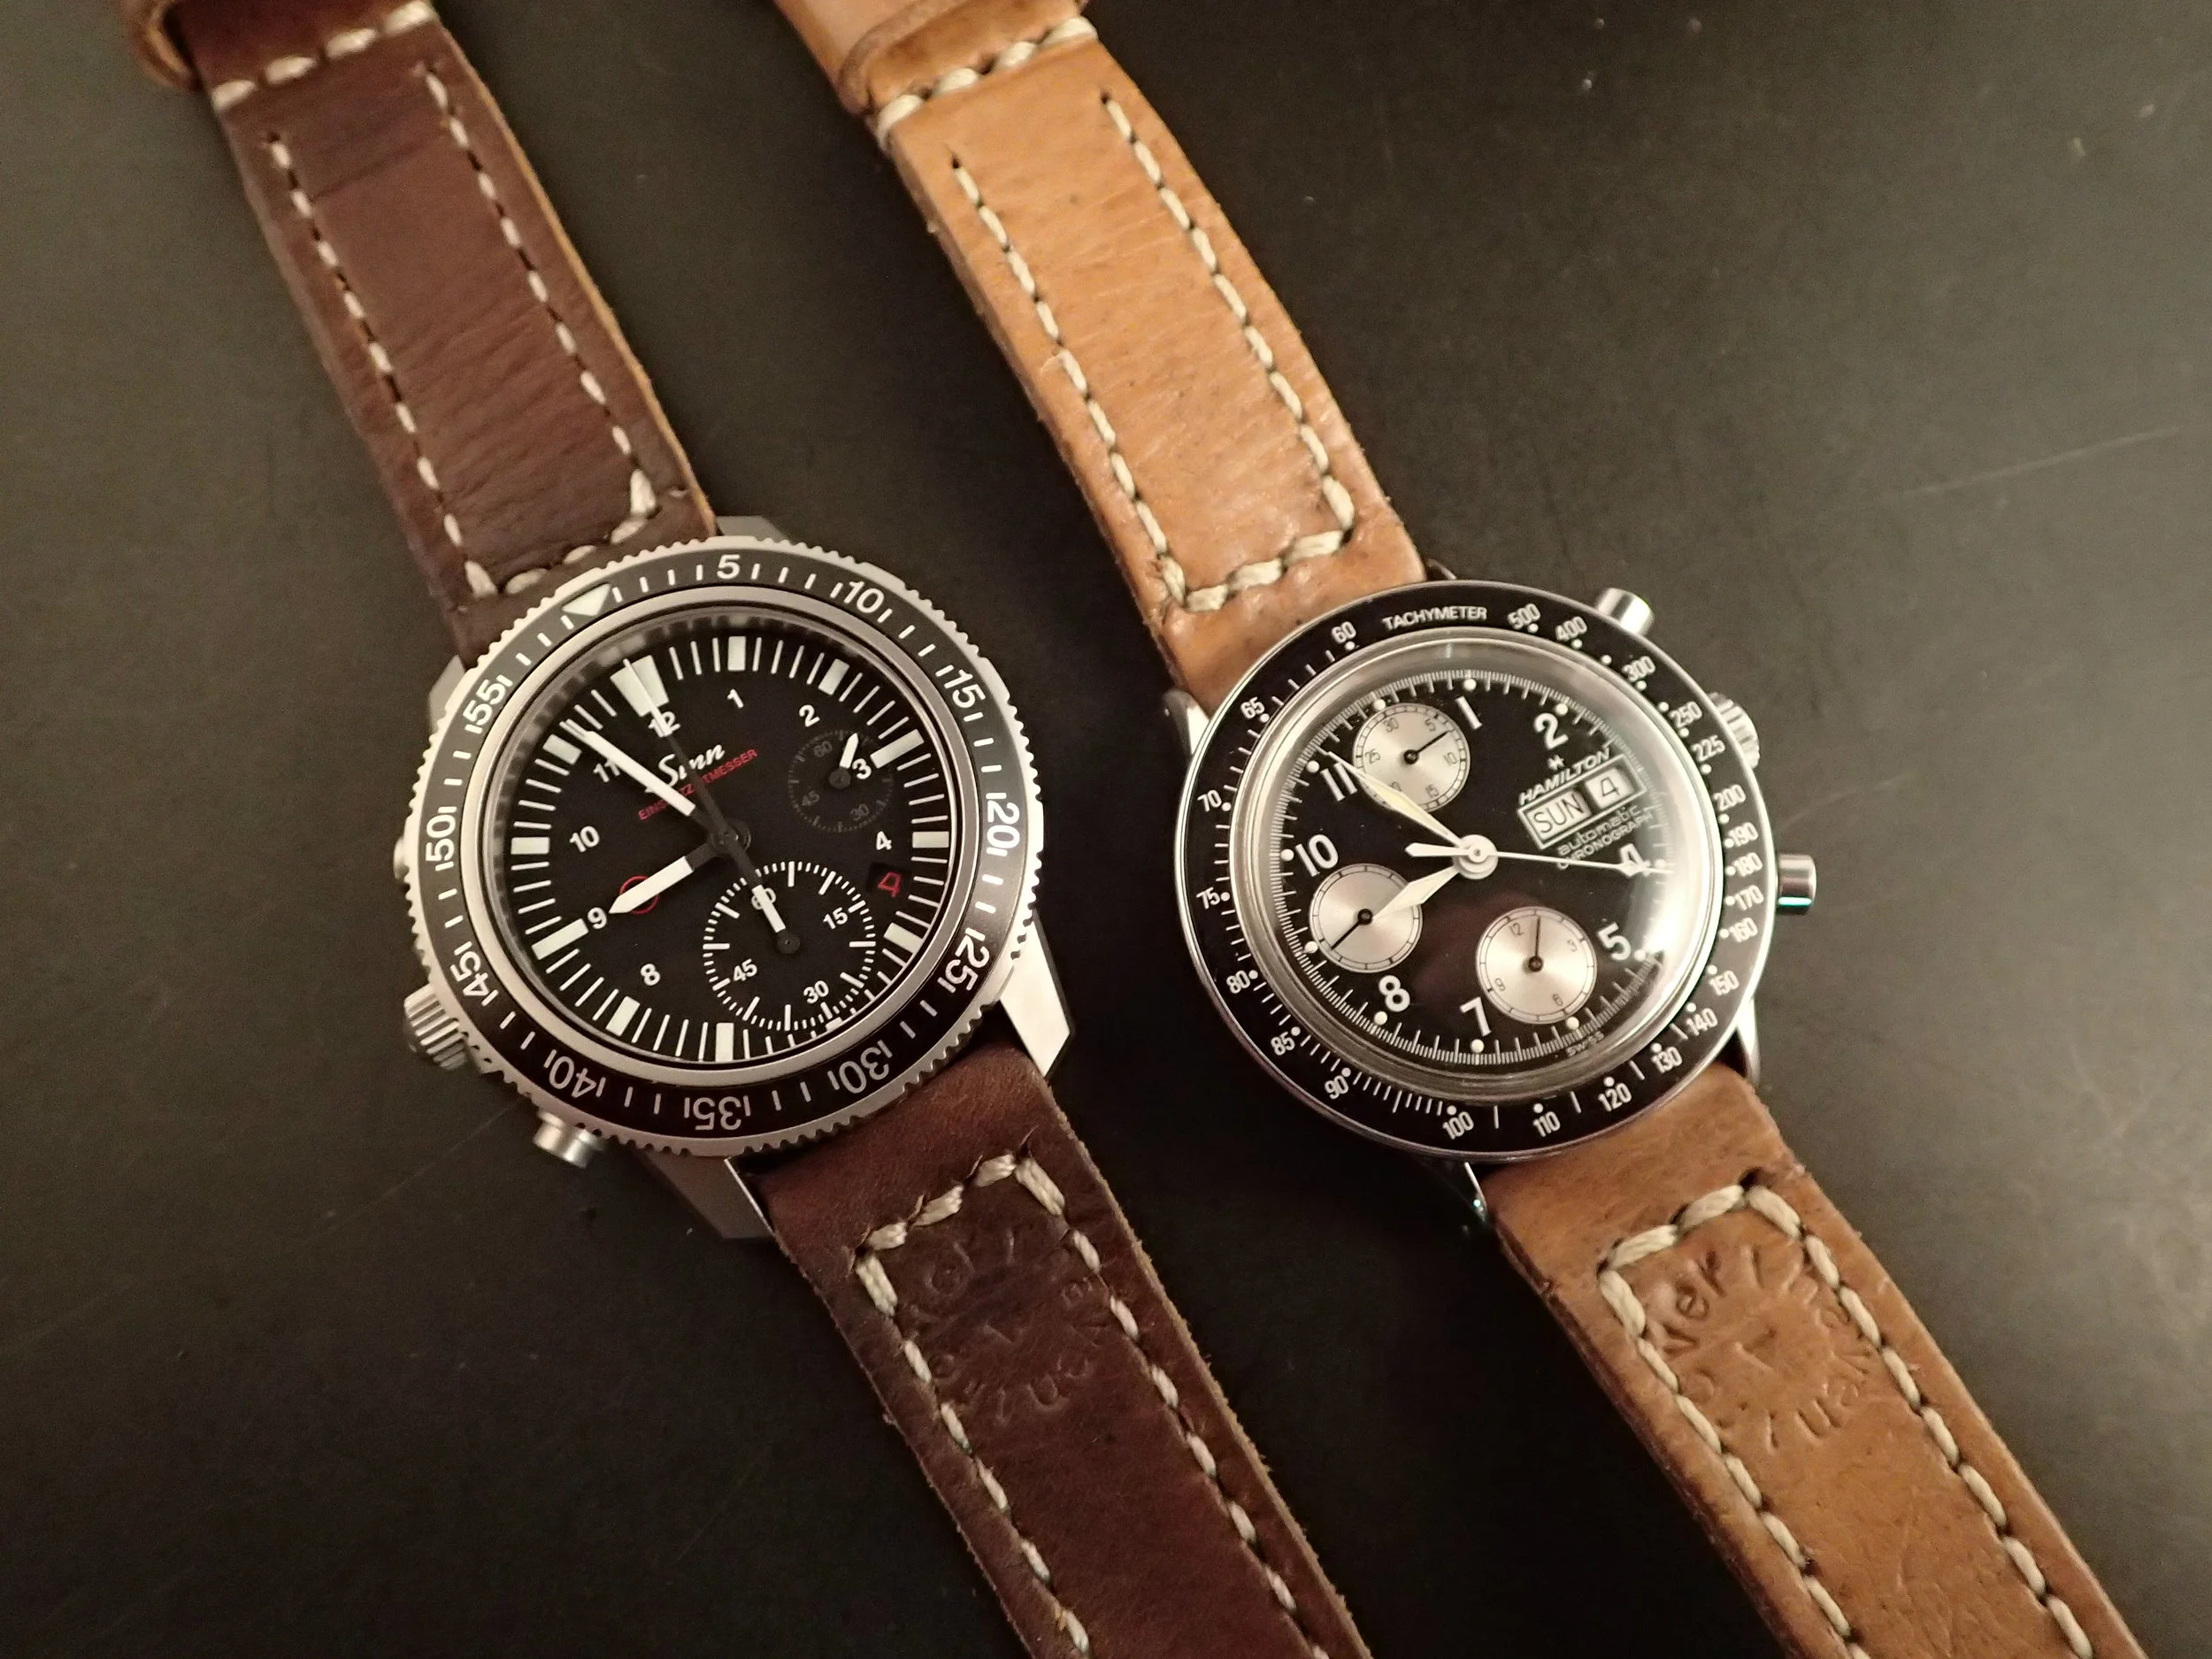
And here we have the better of the two final straps, ready to go off to its owner and be worn proudly. What was old is new again.

The finished strap photographed before the Rover Haven logo was added.

A fixed oval buckle was used.

The second strap I saved for myself. I tack-stitched the lug corners and left the pouch's original seam holes for character, but I wish I had sewn them both like the strap above.

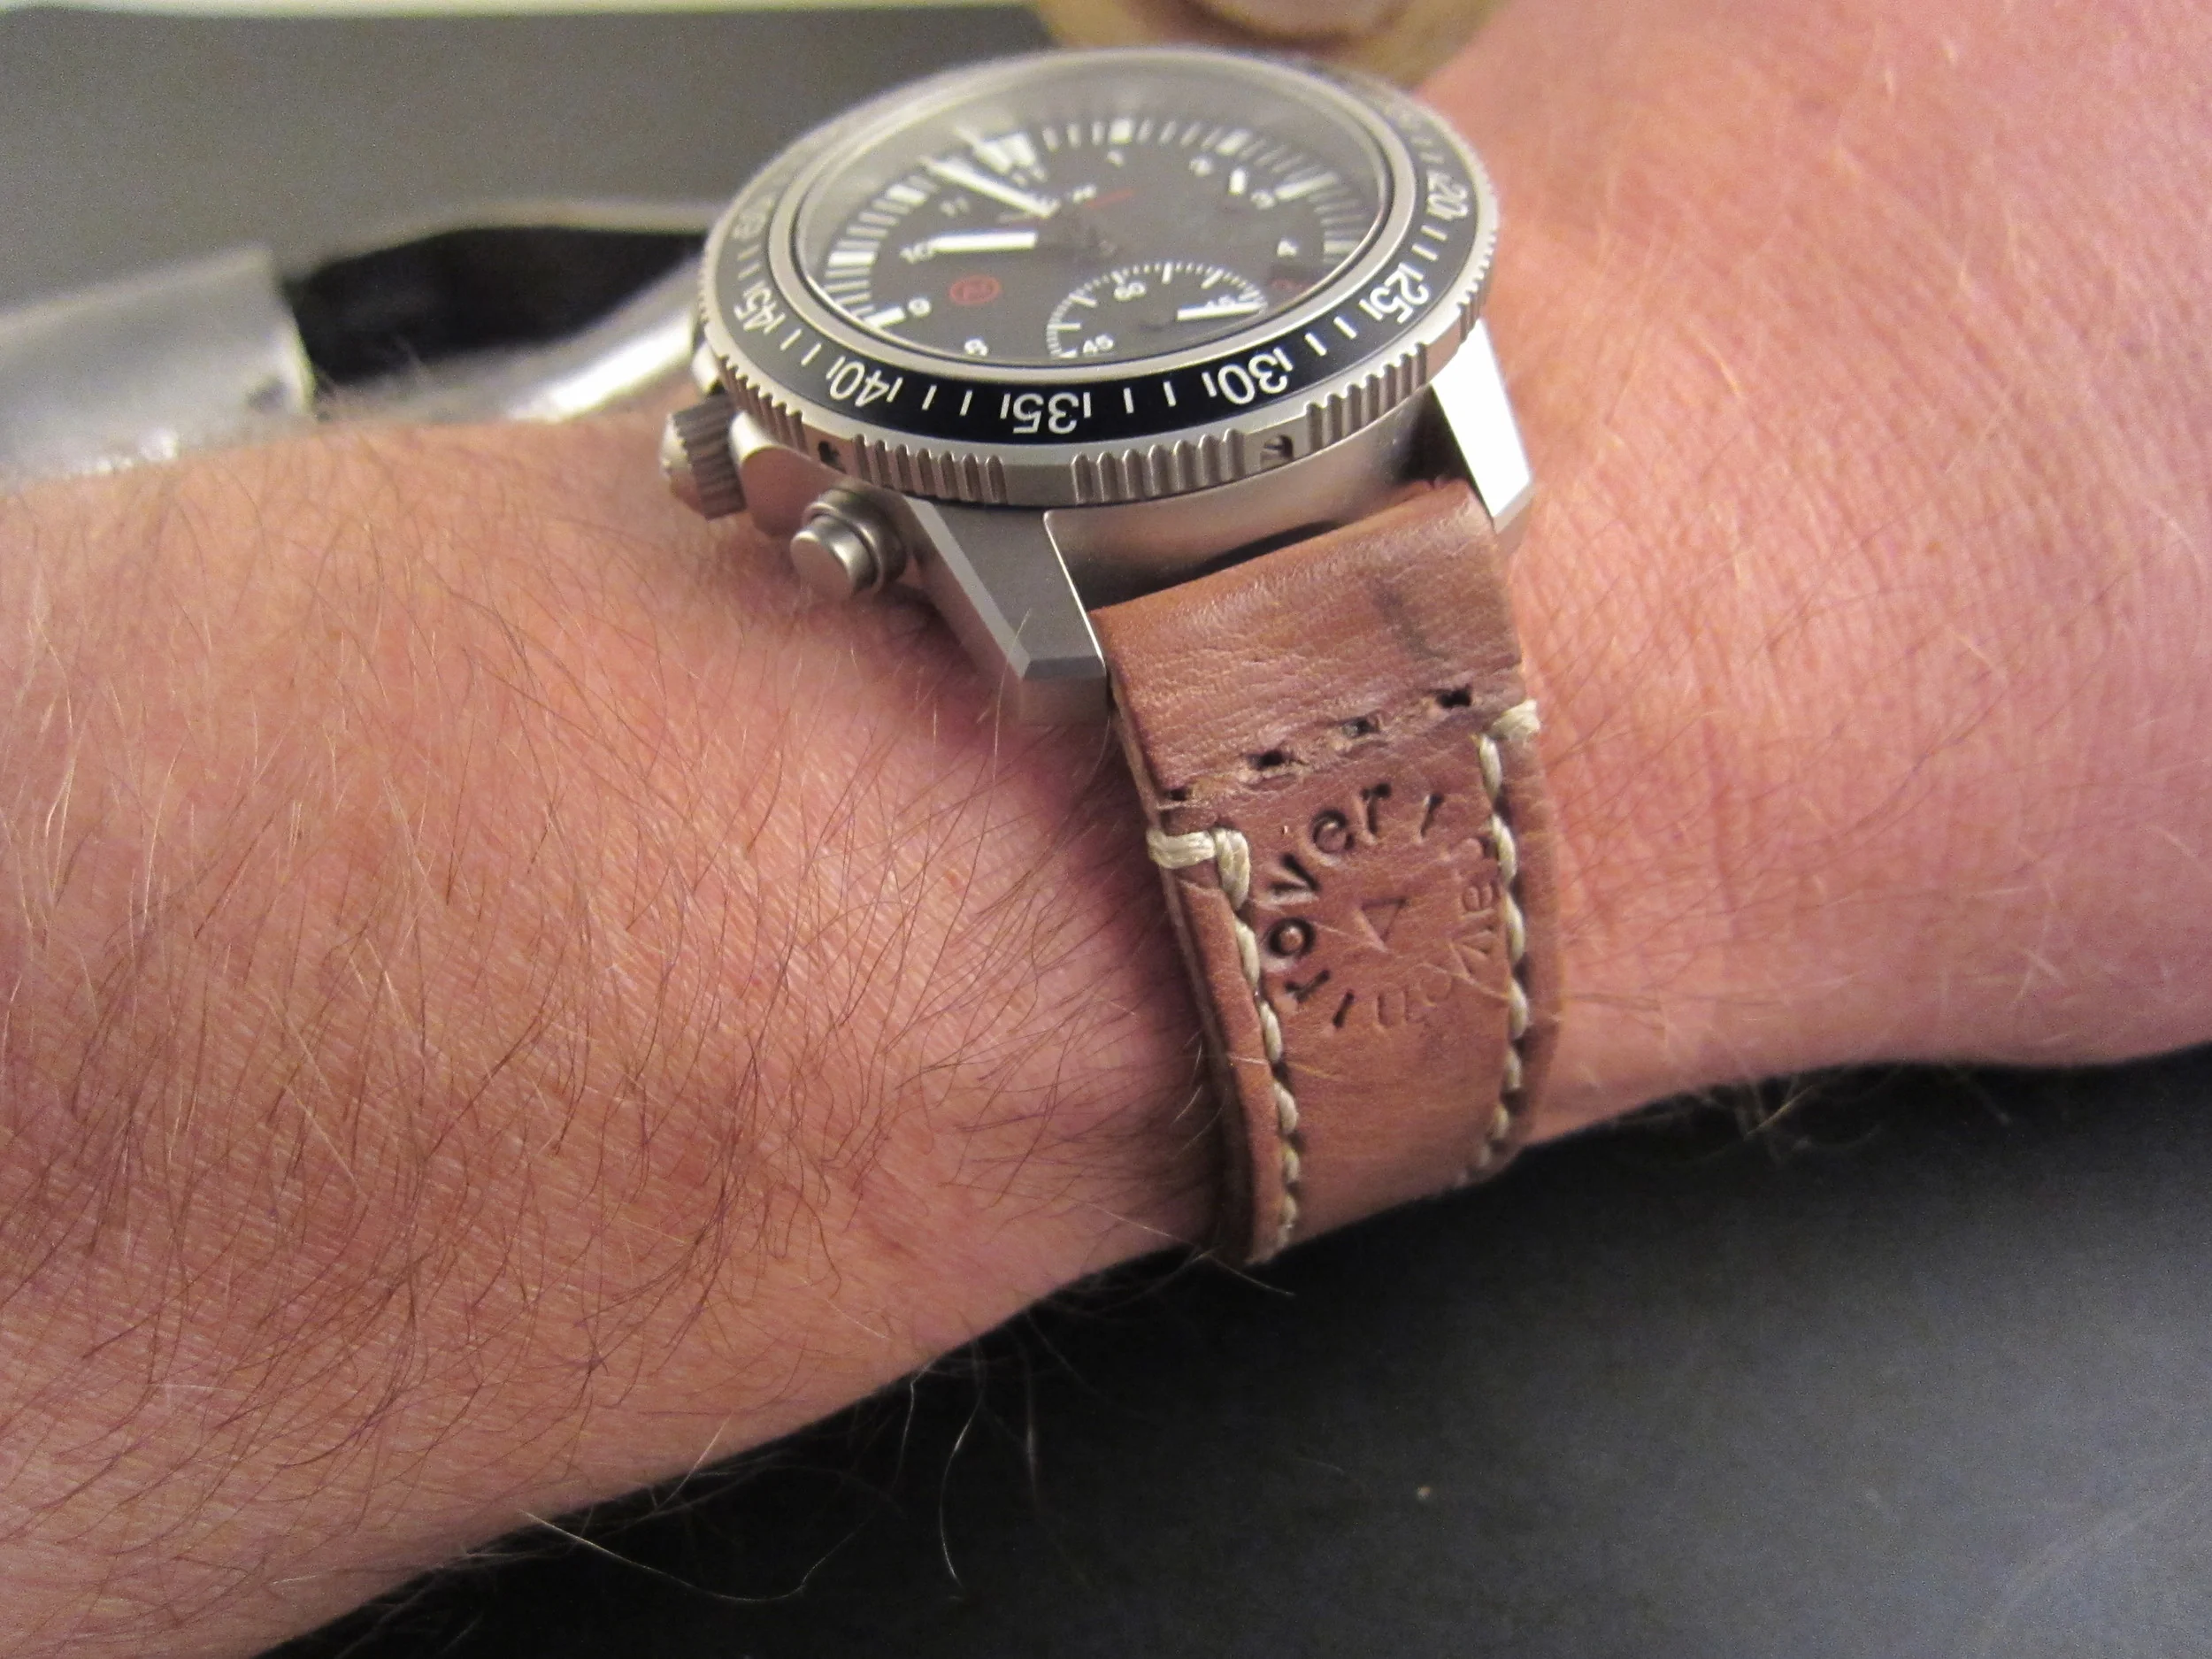
Sinn EZM 13 on a new/old ammo strap.
On the wrist, the strap is thin, light, and comfortable, although the used book store smell follows you around all day. Fortunately, I have always liked used book stores.
Thanks for reading!