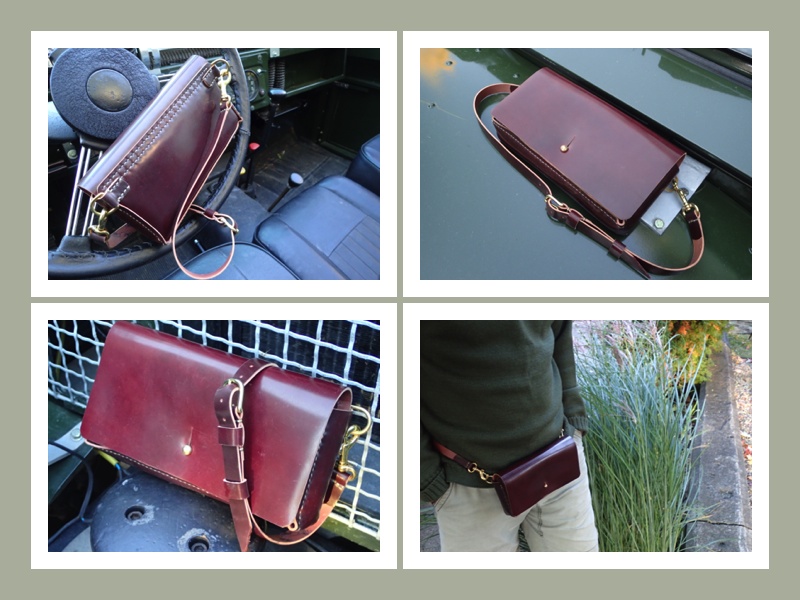
One of a kind: The making of a gentleman's shell cordovan EDC bag.
Myron Erickson
A customer asked if it would be possible to build a small bag to use as an everyday carry for his car key fob, a pocket knife, cell phone, wallet, small oddments, etc. I said, "Sure." Then he said he'd like it built from Horween shell cordovan in Color No. 8. I said, "Umm..."
After securing the shells from Horween Leather, I set about the mental exercise of designing the bag. There is a saying in leather craft: There are a lot of ways of getting to Chicago. As with other bag projects I've done, there comes a point when all the sketches, revisions, and thinking come to an end and you have to put knife to leather. Inevitably, there are details that you work out as you go, and the original design becomes a guideline.
The bag is to be worn around the waist, with the possibility of putting a shoulder strap on it as well. The overarching design philosophy of this bag was to arrive at something that has a masculine vibe despite the smaller size. The color, the contrasting stitching, the choice of brass hardware, and the presentation of the visible cut edges all contribute to this.
Step 1. The five panels and pieces that will form the simple gusset design are carefully measured, cut, and the corners radiused.


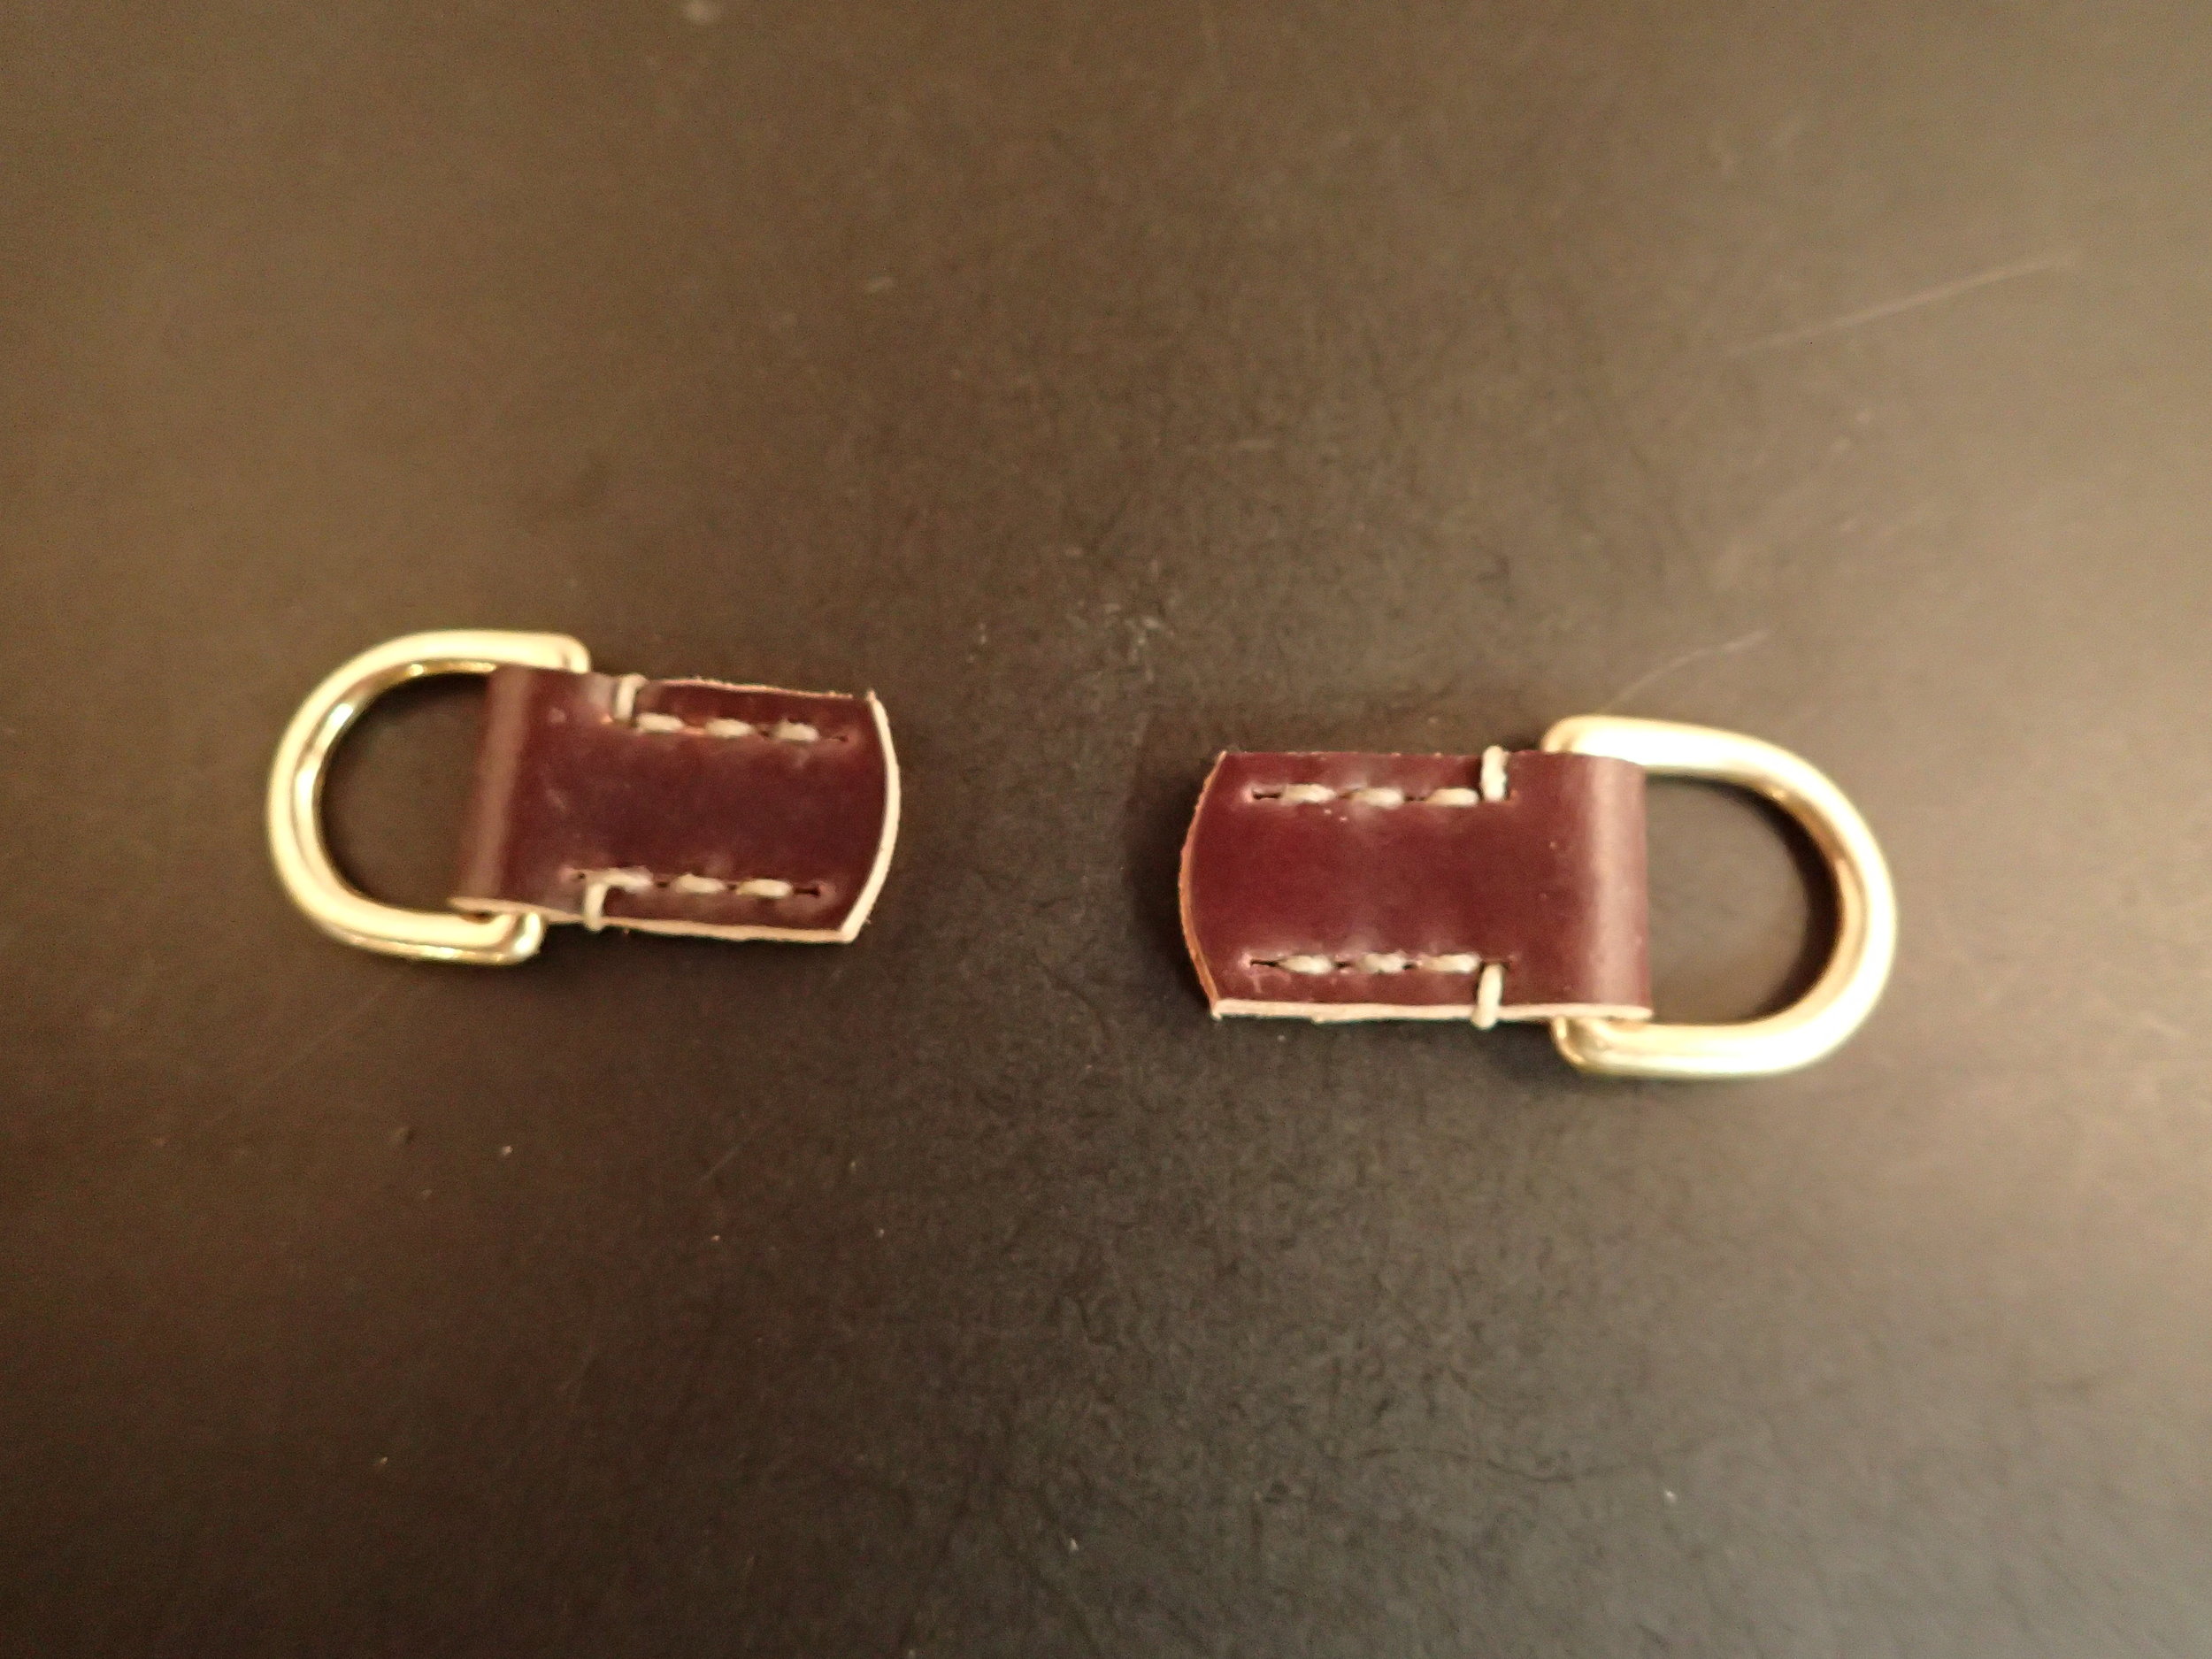
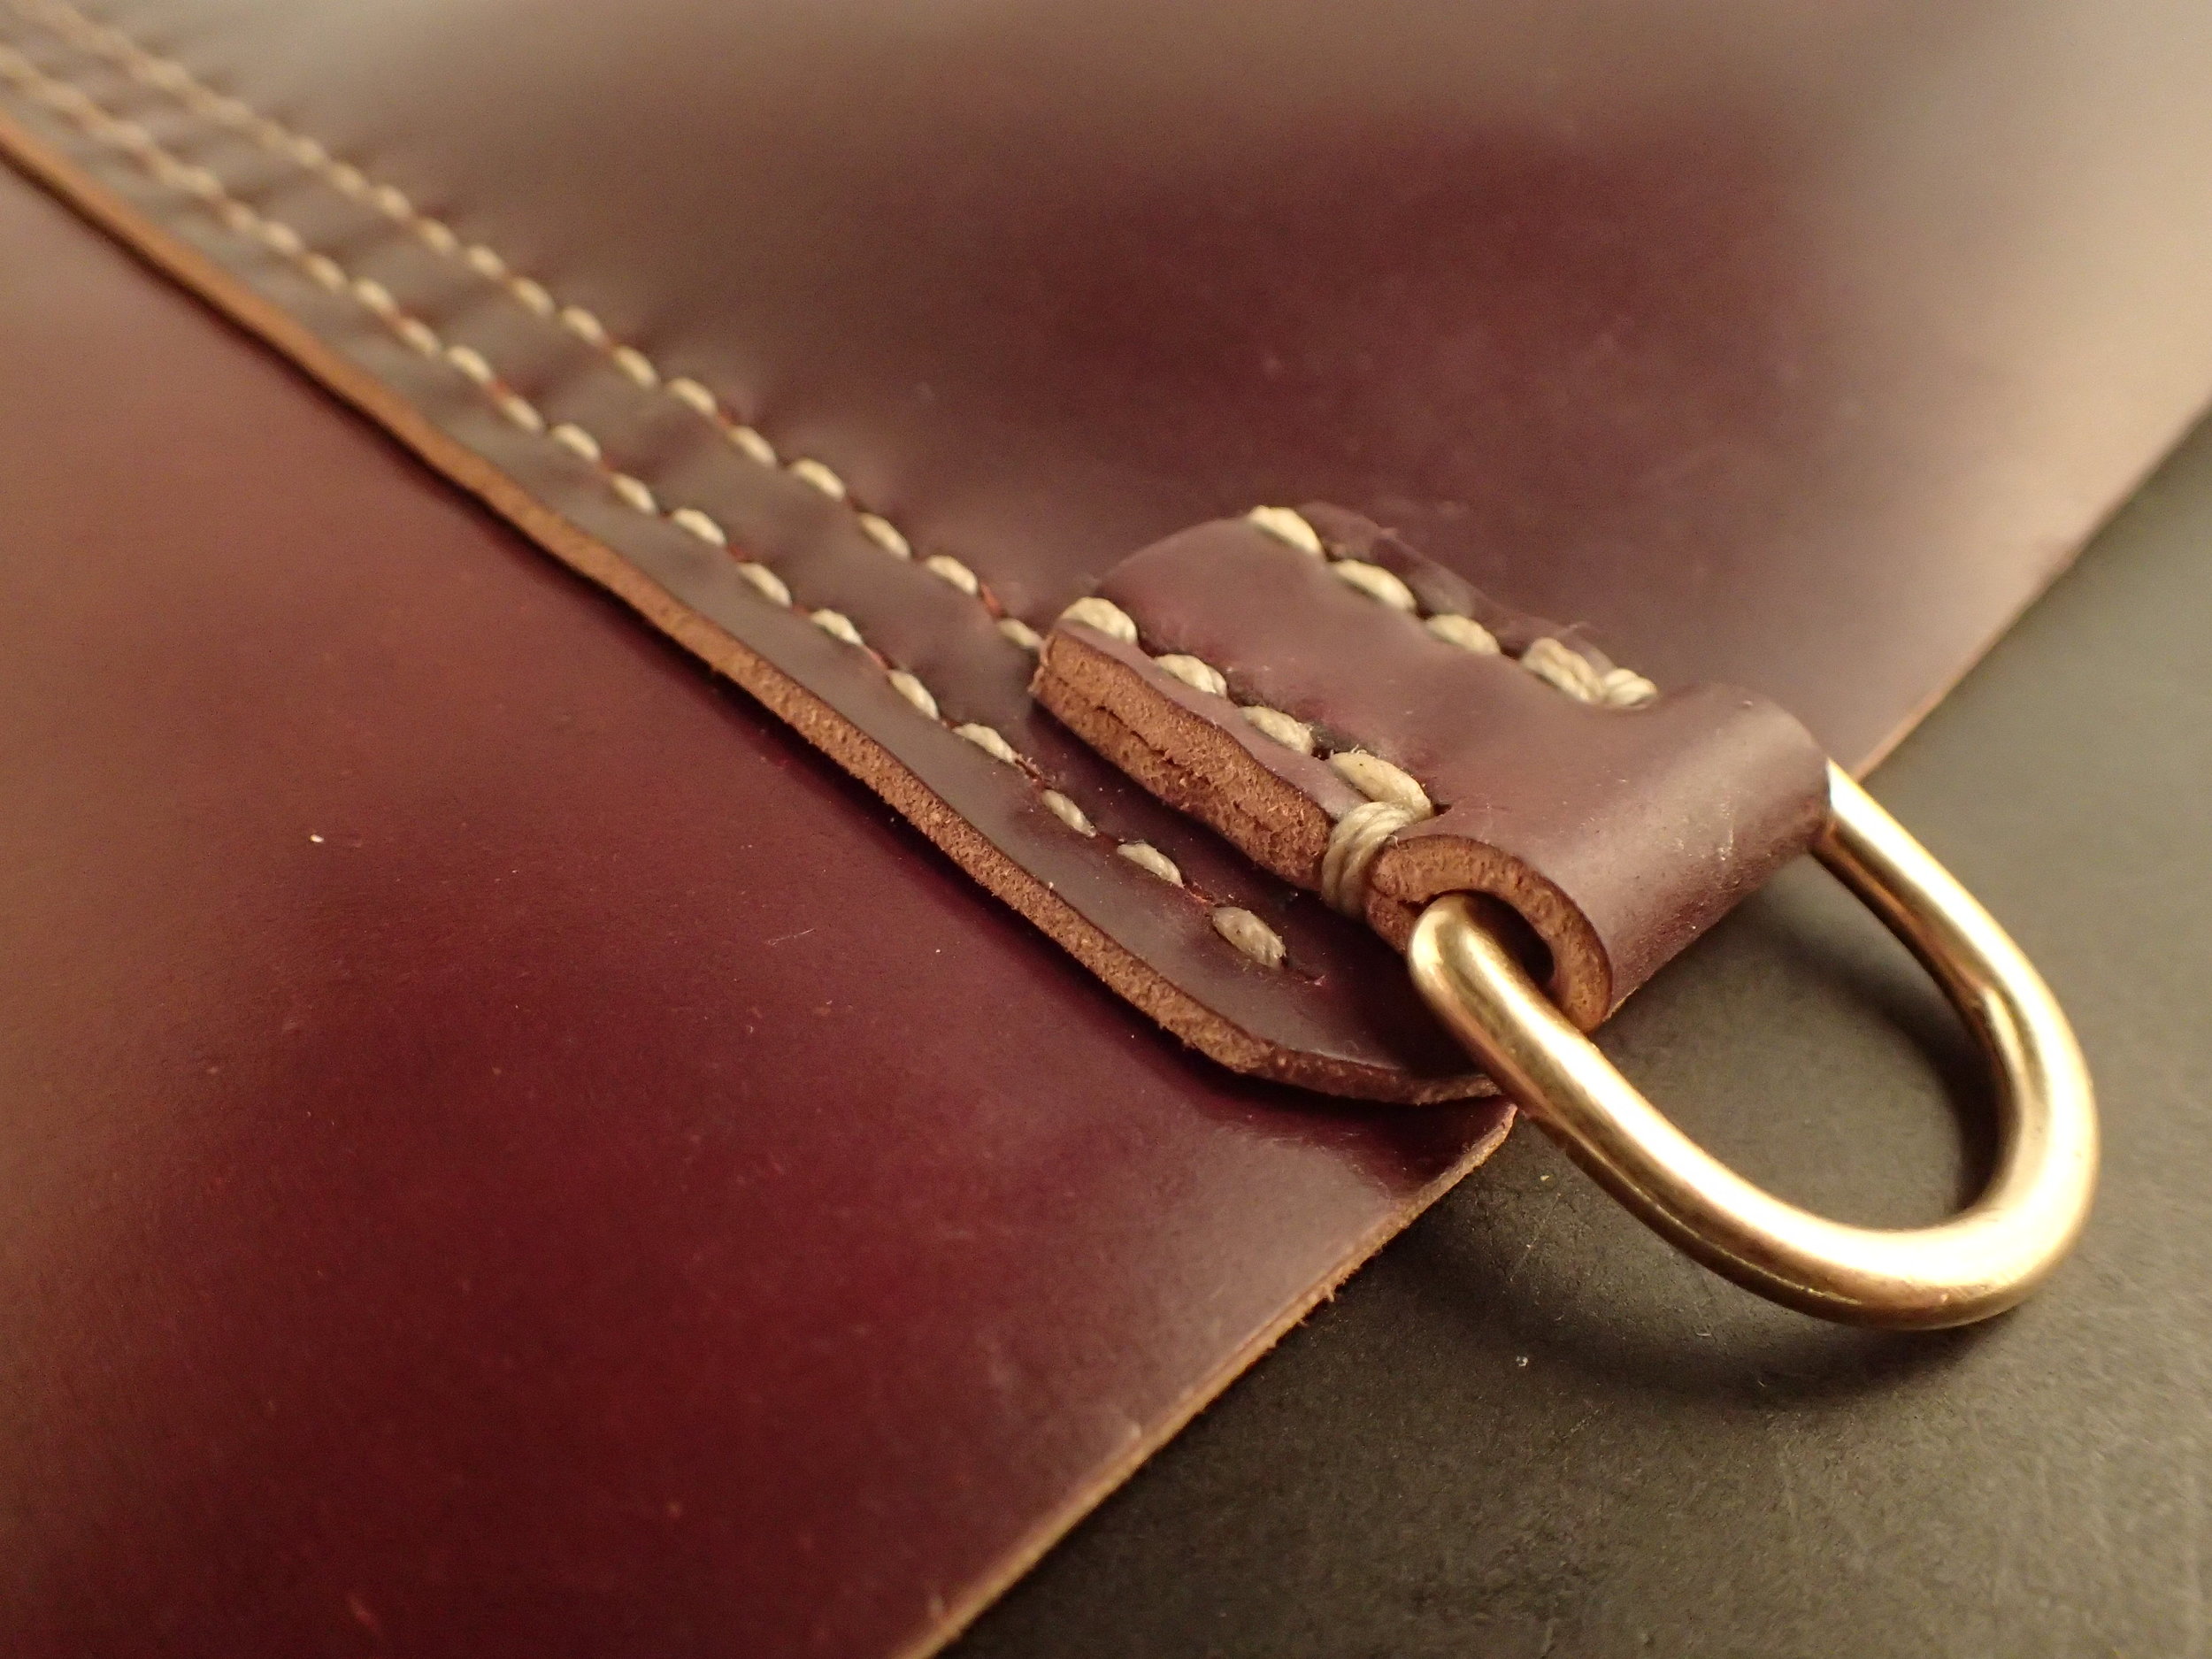
Step 2. The strap D-ring tabs are cut out, sewn together, and nipped off. They will be sewn again when they are fastened to the bag's back panel. The D-rings are 5/8's of an inch at their base and are made from solid brass. I like brass as a material. It has a warmth and honesty that other metals don't possess, is reasonably corrosion resistant if cared for at all, and is commonly available. Brass also looks great on a masculine piece such as this bag.
Step 3. The bag's back panel and the forward-folding closing flap are pierced and sewn together using two parallel seams. The piercing is done by hand and all of the stitching on the bag is done using a double needle technique. The strap D-ring tabs are also now sewn onto the back panel.


Step 4. The bag's inner pocket is prepared for sewing. To avoid having three full thicknesses of shell cordovan to stitch through later, the inner pocket piece is carefully skived down on its edges. If I go too deep with the skiver at this point and go through the finished side, it's time for a new piece of shell. I always use brand new blades for super-critical skives like these where there is no room for error.


Step 5. The inner pocket piece is then pierced for sewing and tack-stitched onto the back panel of the bag. The tack stitches will hold it in place while the rest of the bag is being assembled around it. They can be either removed or sewn over when the time comes.


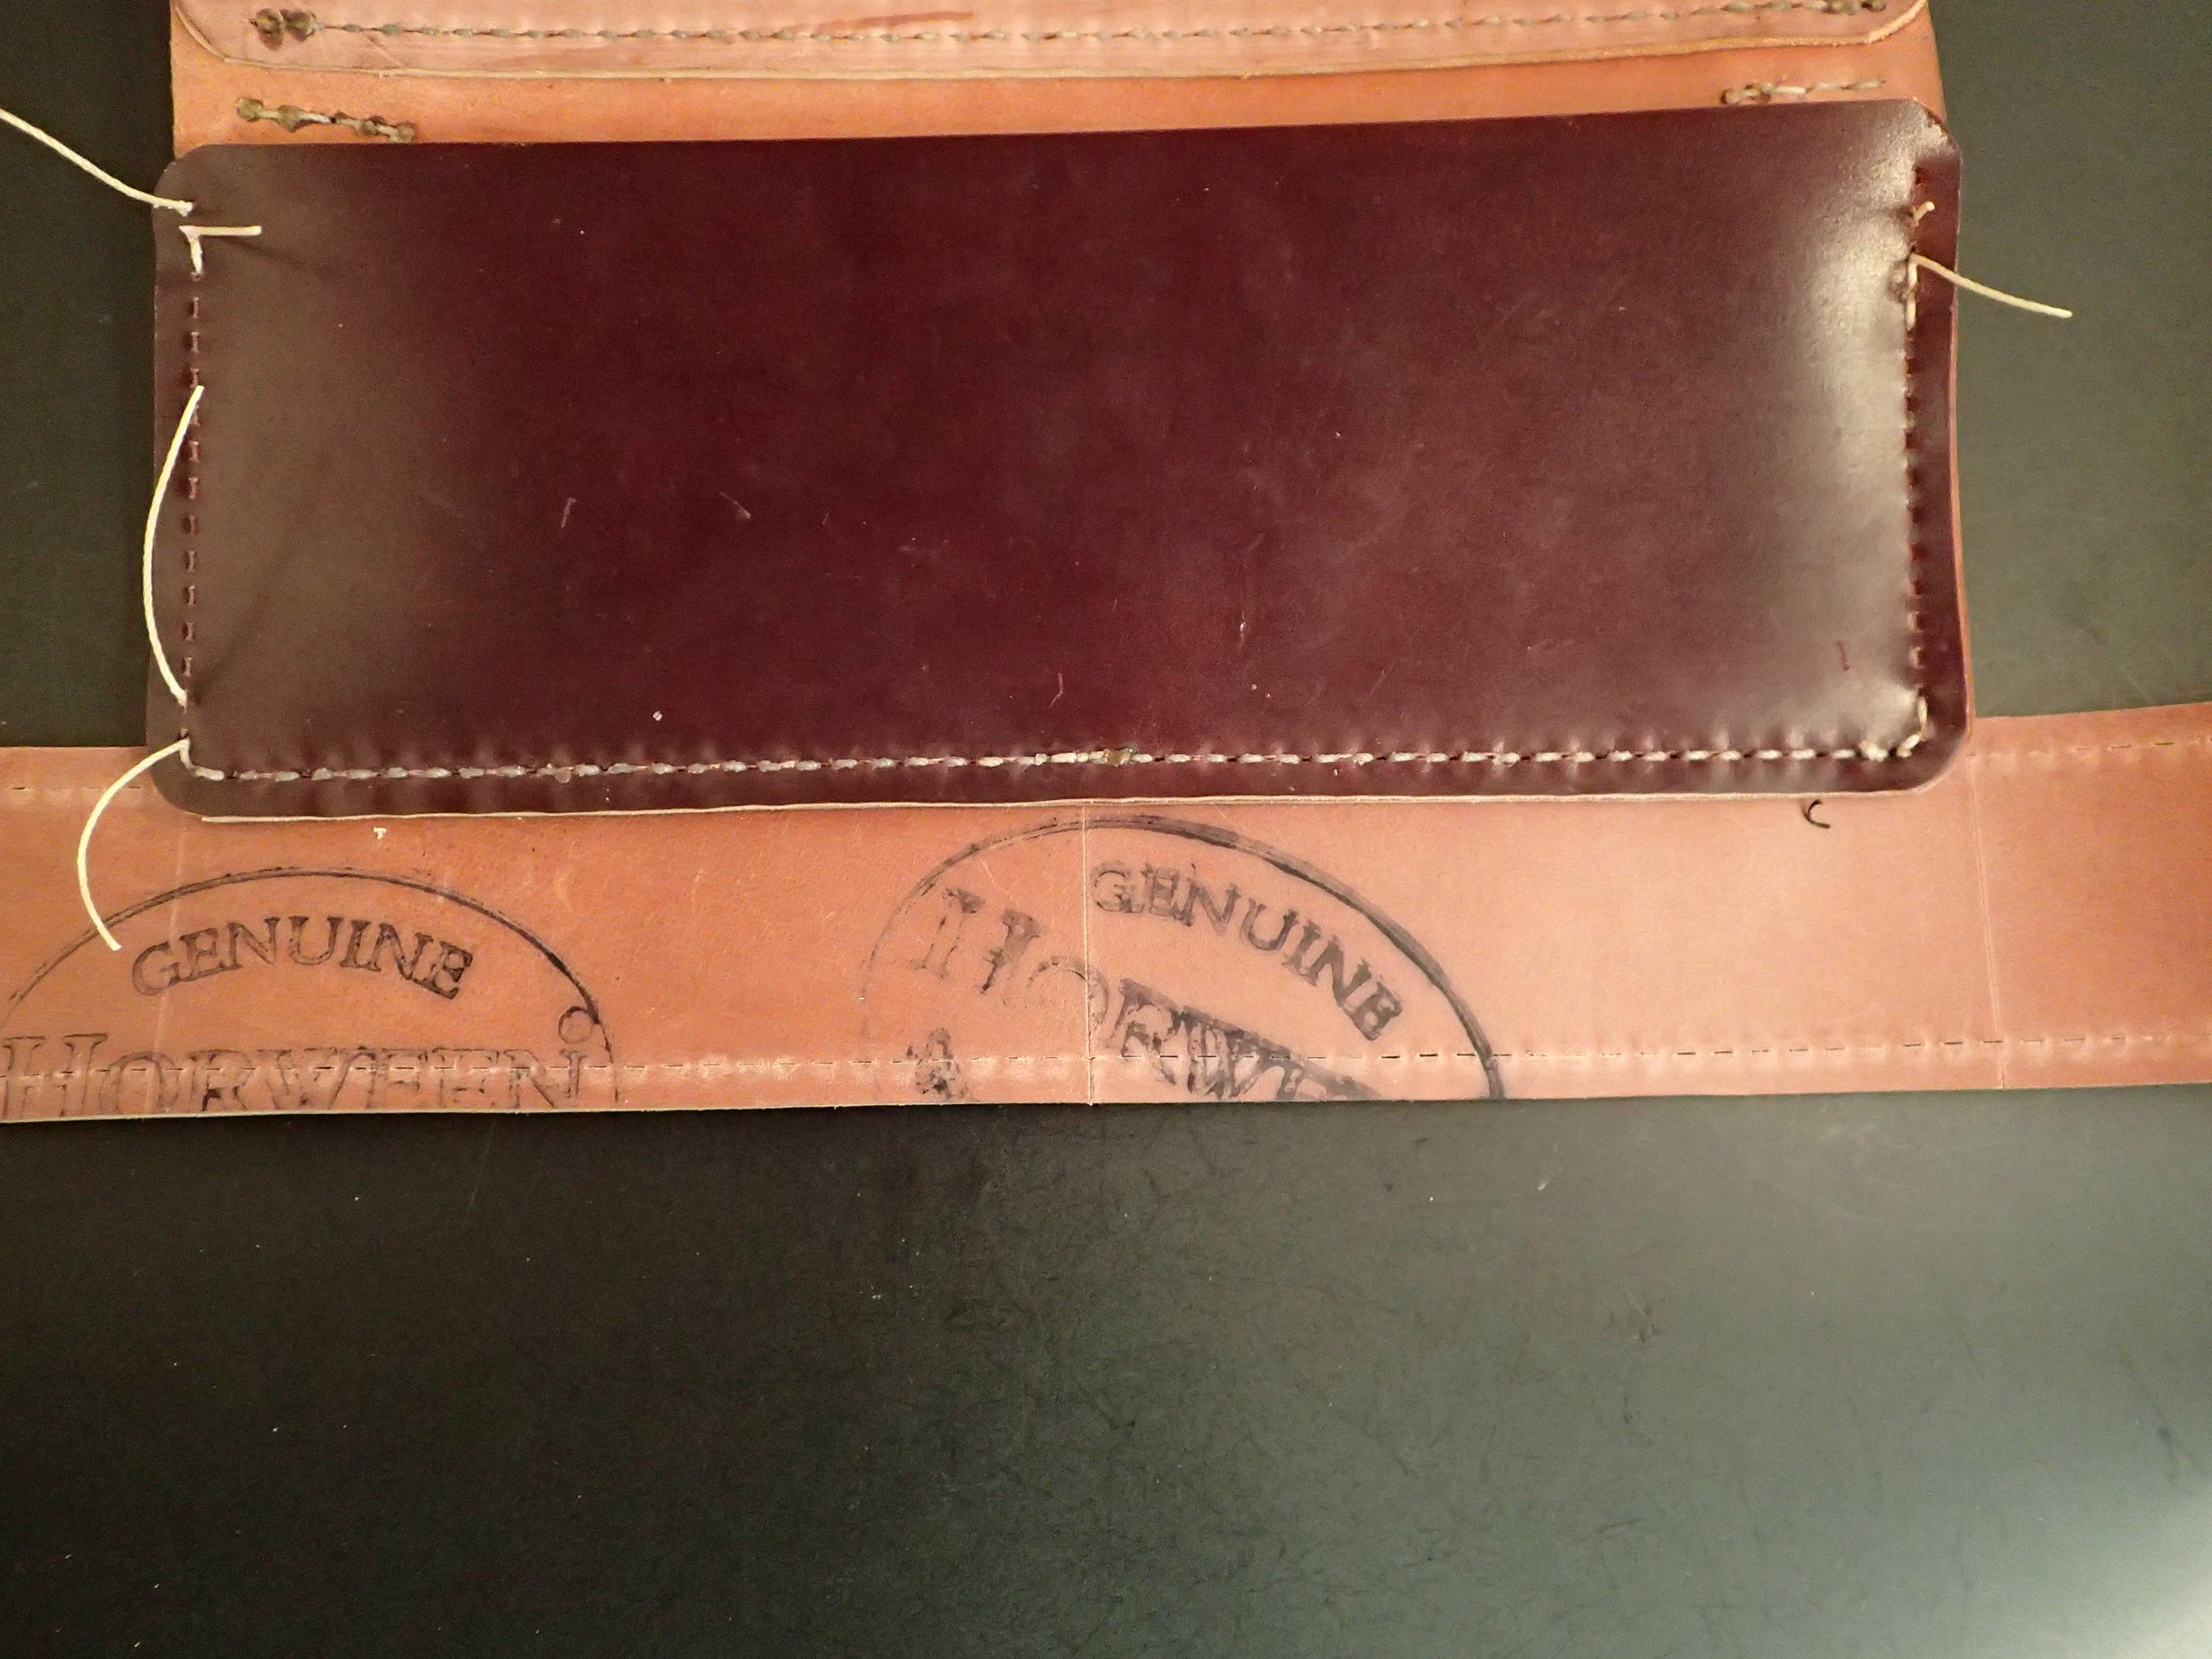
Step 6. The bag's gusset is pierced and sewn onto the back panel assembly. Early on in the design process, I made the decision to have only one cut edge of shell show on the final product. Rather than stitch the two opposing sides together face to face, which would present two cut edges, the two pieces are overlapped and then sewn. One cut edge will be inside the bag and one outside.

The trick in sewing the gusset piece onto the bag is turning the corner. The gusset is essentially a two-dimensional thing that we are asking to accept a new seam from the third dimension. With persistence and some gentle persuasion, the gusset is fastened in place on the bag's back panel.
The first step in this process is to line up the centers of the two pieces. Carefully marking the centers precludes frustrating results later in the project. The picture below shows a pencil mark on the back panel being aligned with a scratch line, which is the center line of the gusset piece. Sewing then commences from the center out to the ends of this seam.

First, the easy seam. The bottom is sewn straight across.
Then the slightly more difficult seams on the sides. This is the point where the gusset has to be bent into a seemingly Escher-esque shape to work.

Finally, the gusset piece is in place all the way around the back panel, and the stitches in the corners and at the ends are reinforced with several overstitches. The bag is taking shape and looking good.

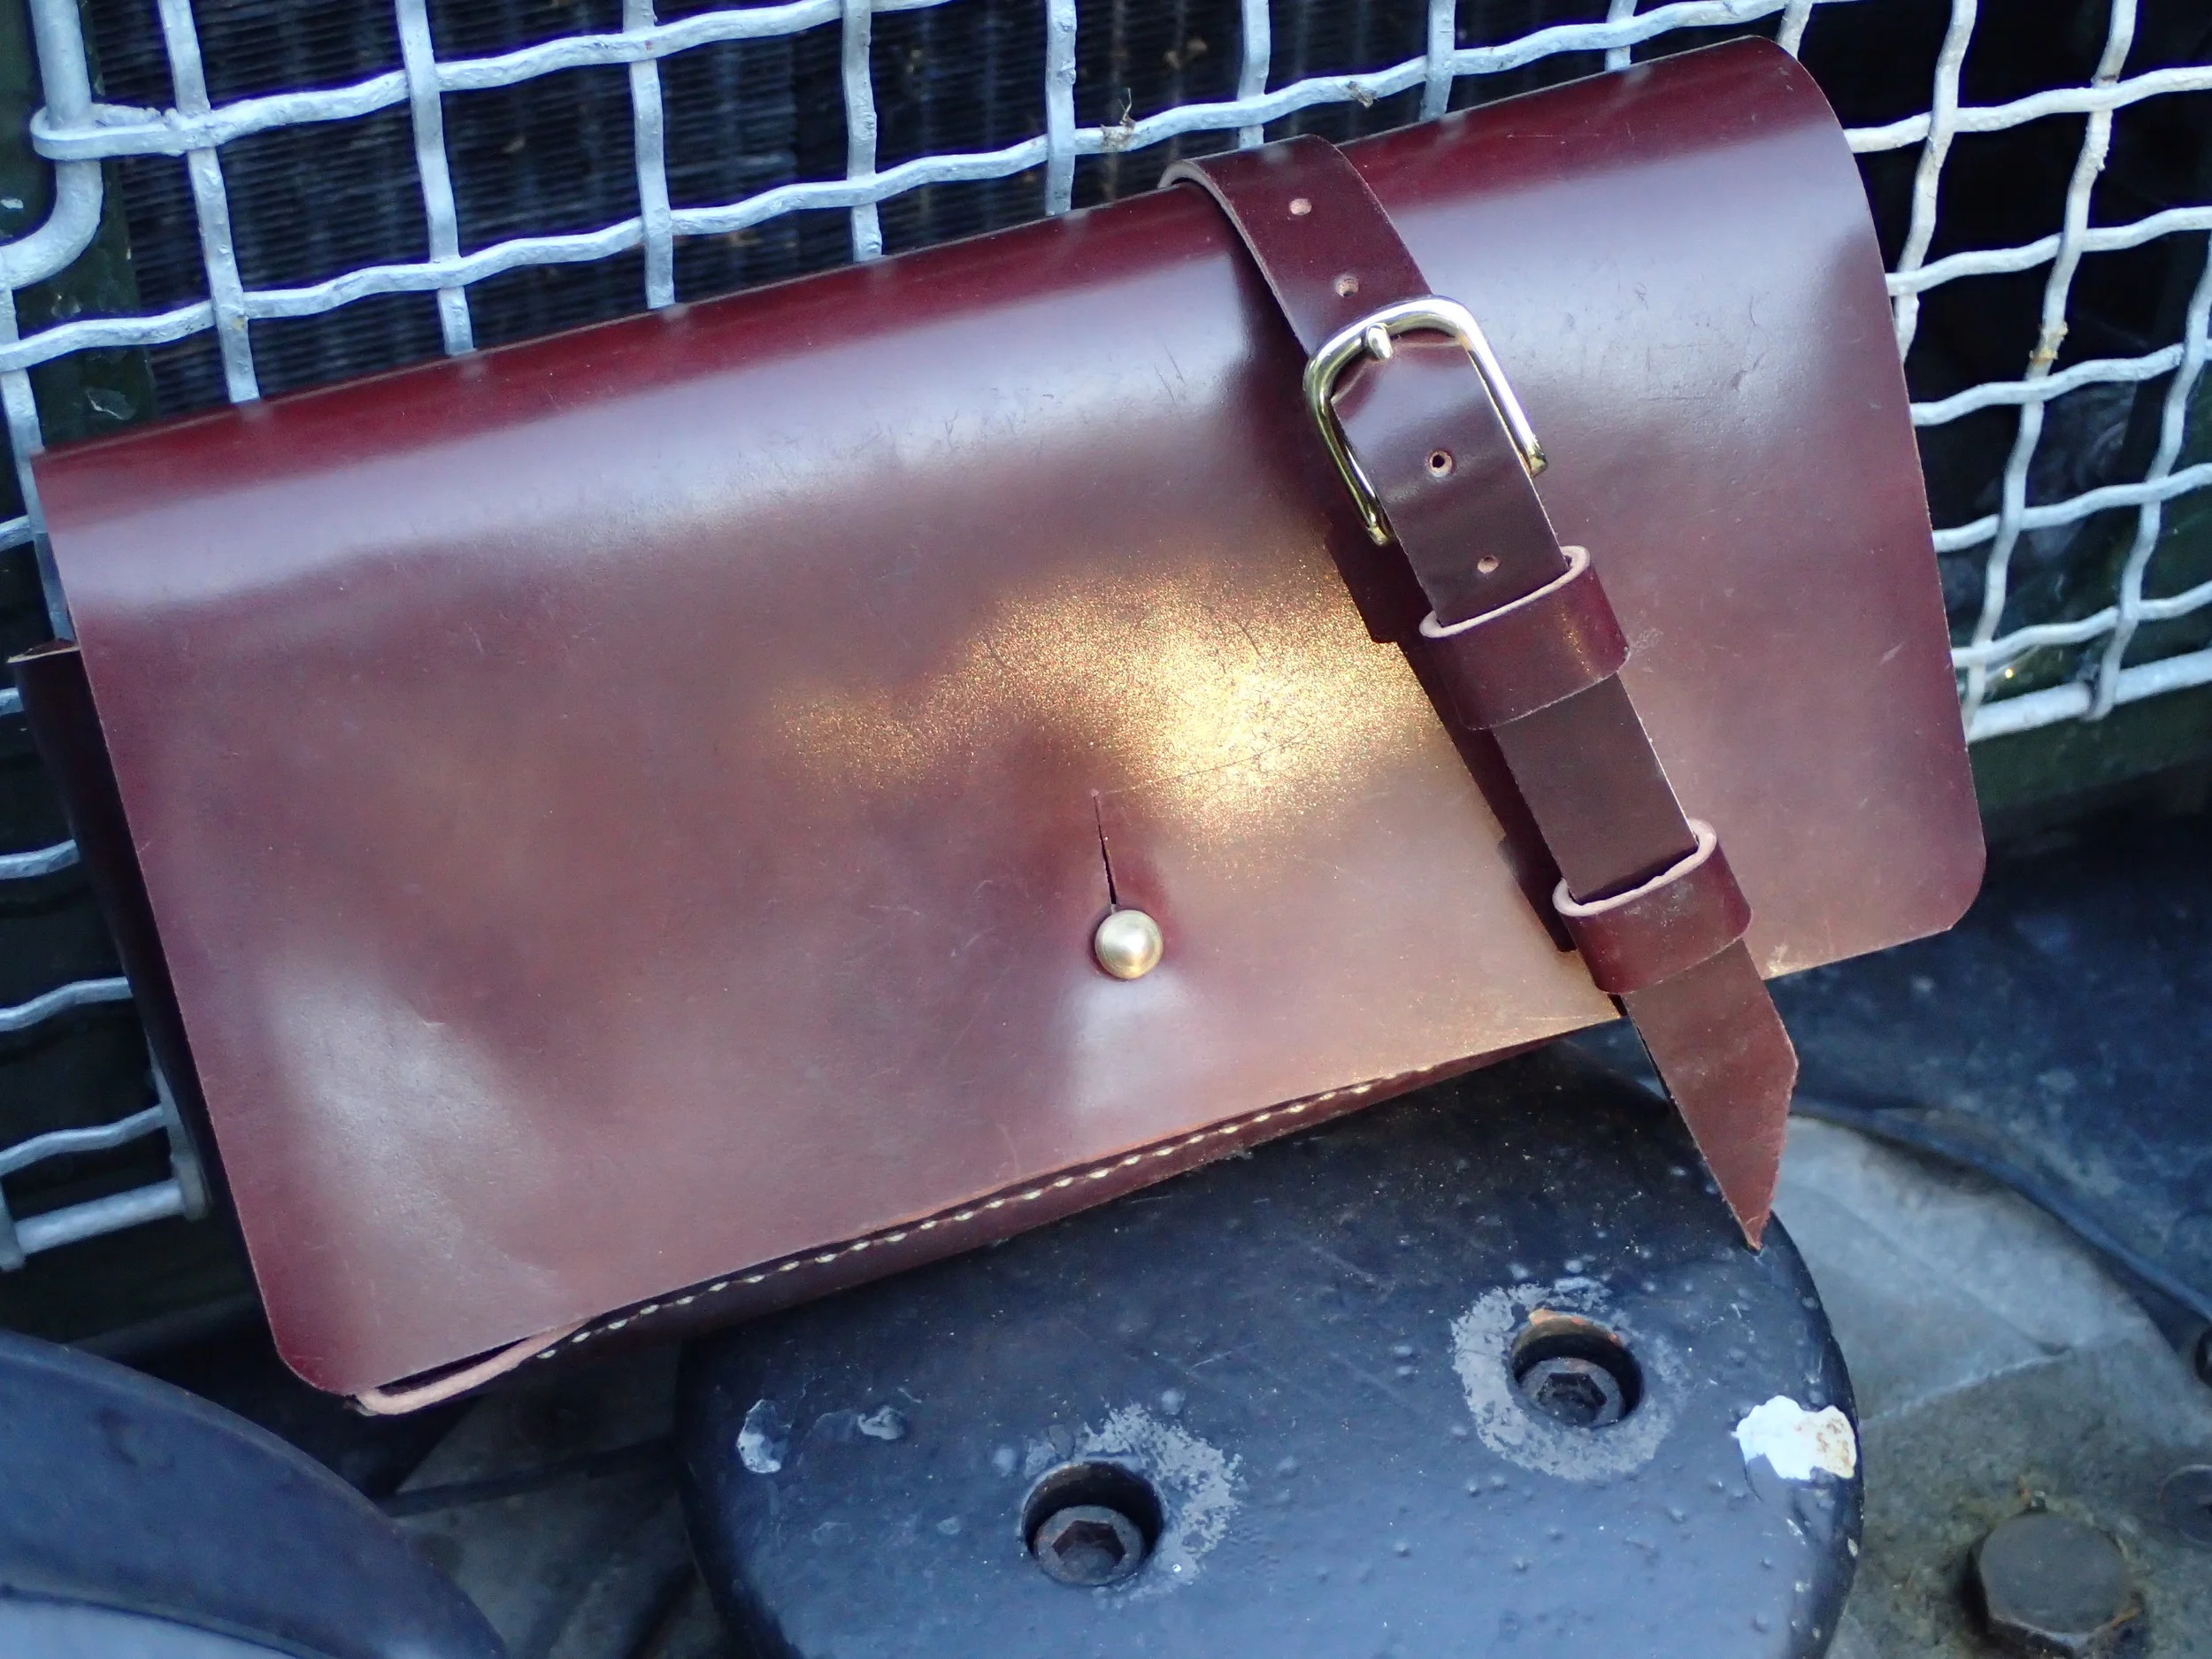
Step 7. Now for a fun change of pace. To close the bag, I decided to reuse a brass pippin stud left over from an ammo pouch. The pouch was completely disassembled to make a watch strap, and its original pippin studs were kept for some future purpose. This bag will be the perfect application.
Here is the brass pippin stud in situ on the bottom of the 50-year old Yugoslavian ammunition pouch.

The pippin stud is peened into place over a backing plate on the inside of the ammo pouch. To remove it and have enough of the inside end left to reuse the stud, the peened end must be carefully filed off by hand. Once free and cleaned up with an abrasive pad, the pippin stud and backing plate are perfectly reusable.

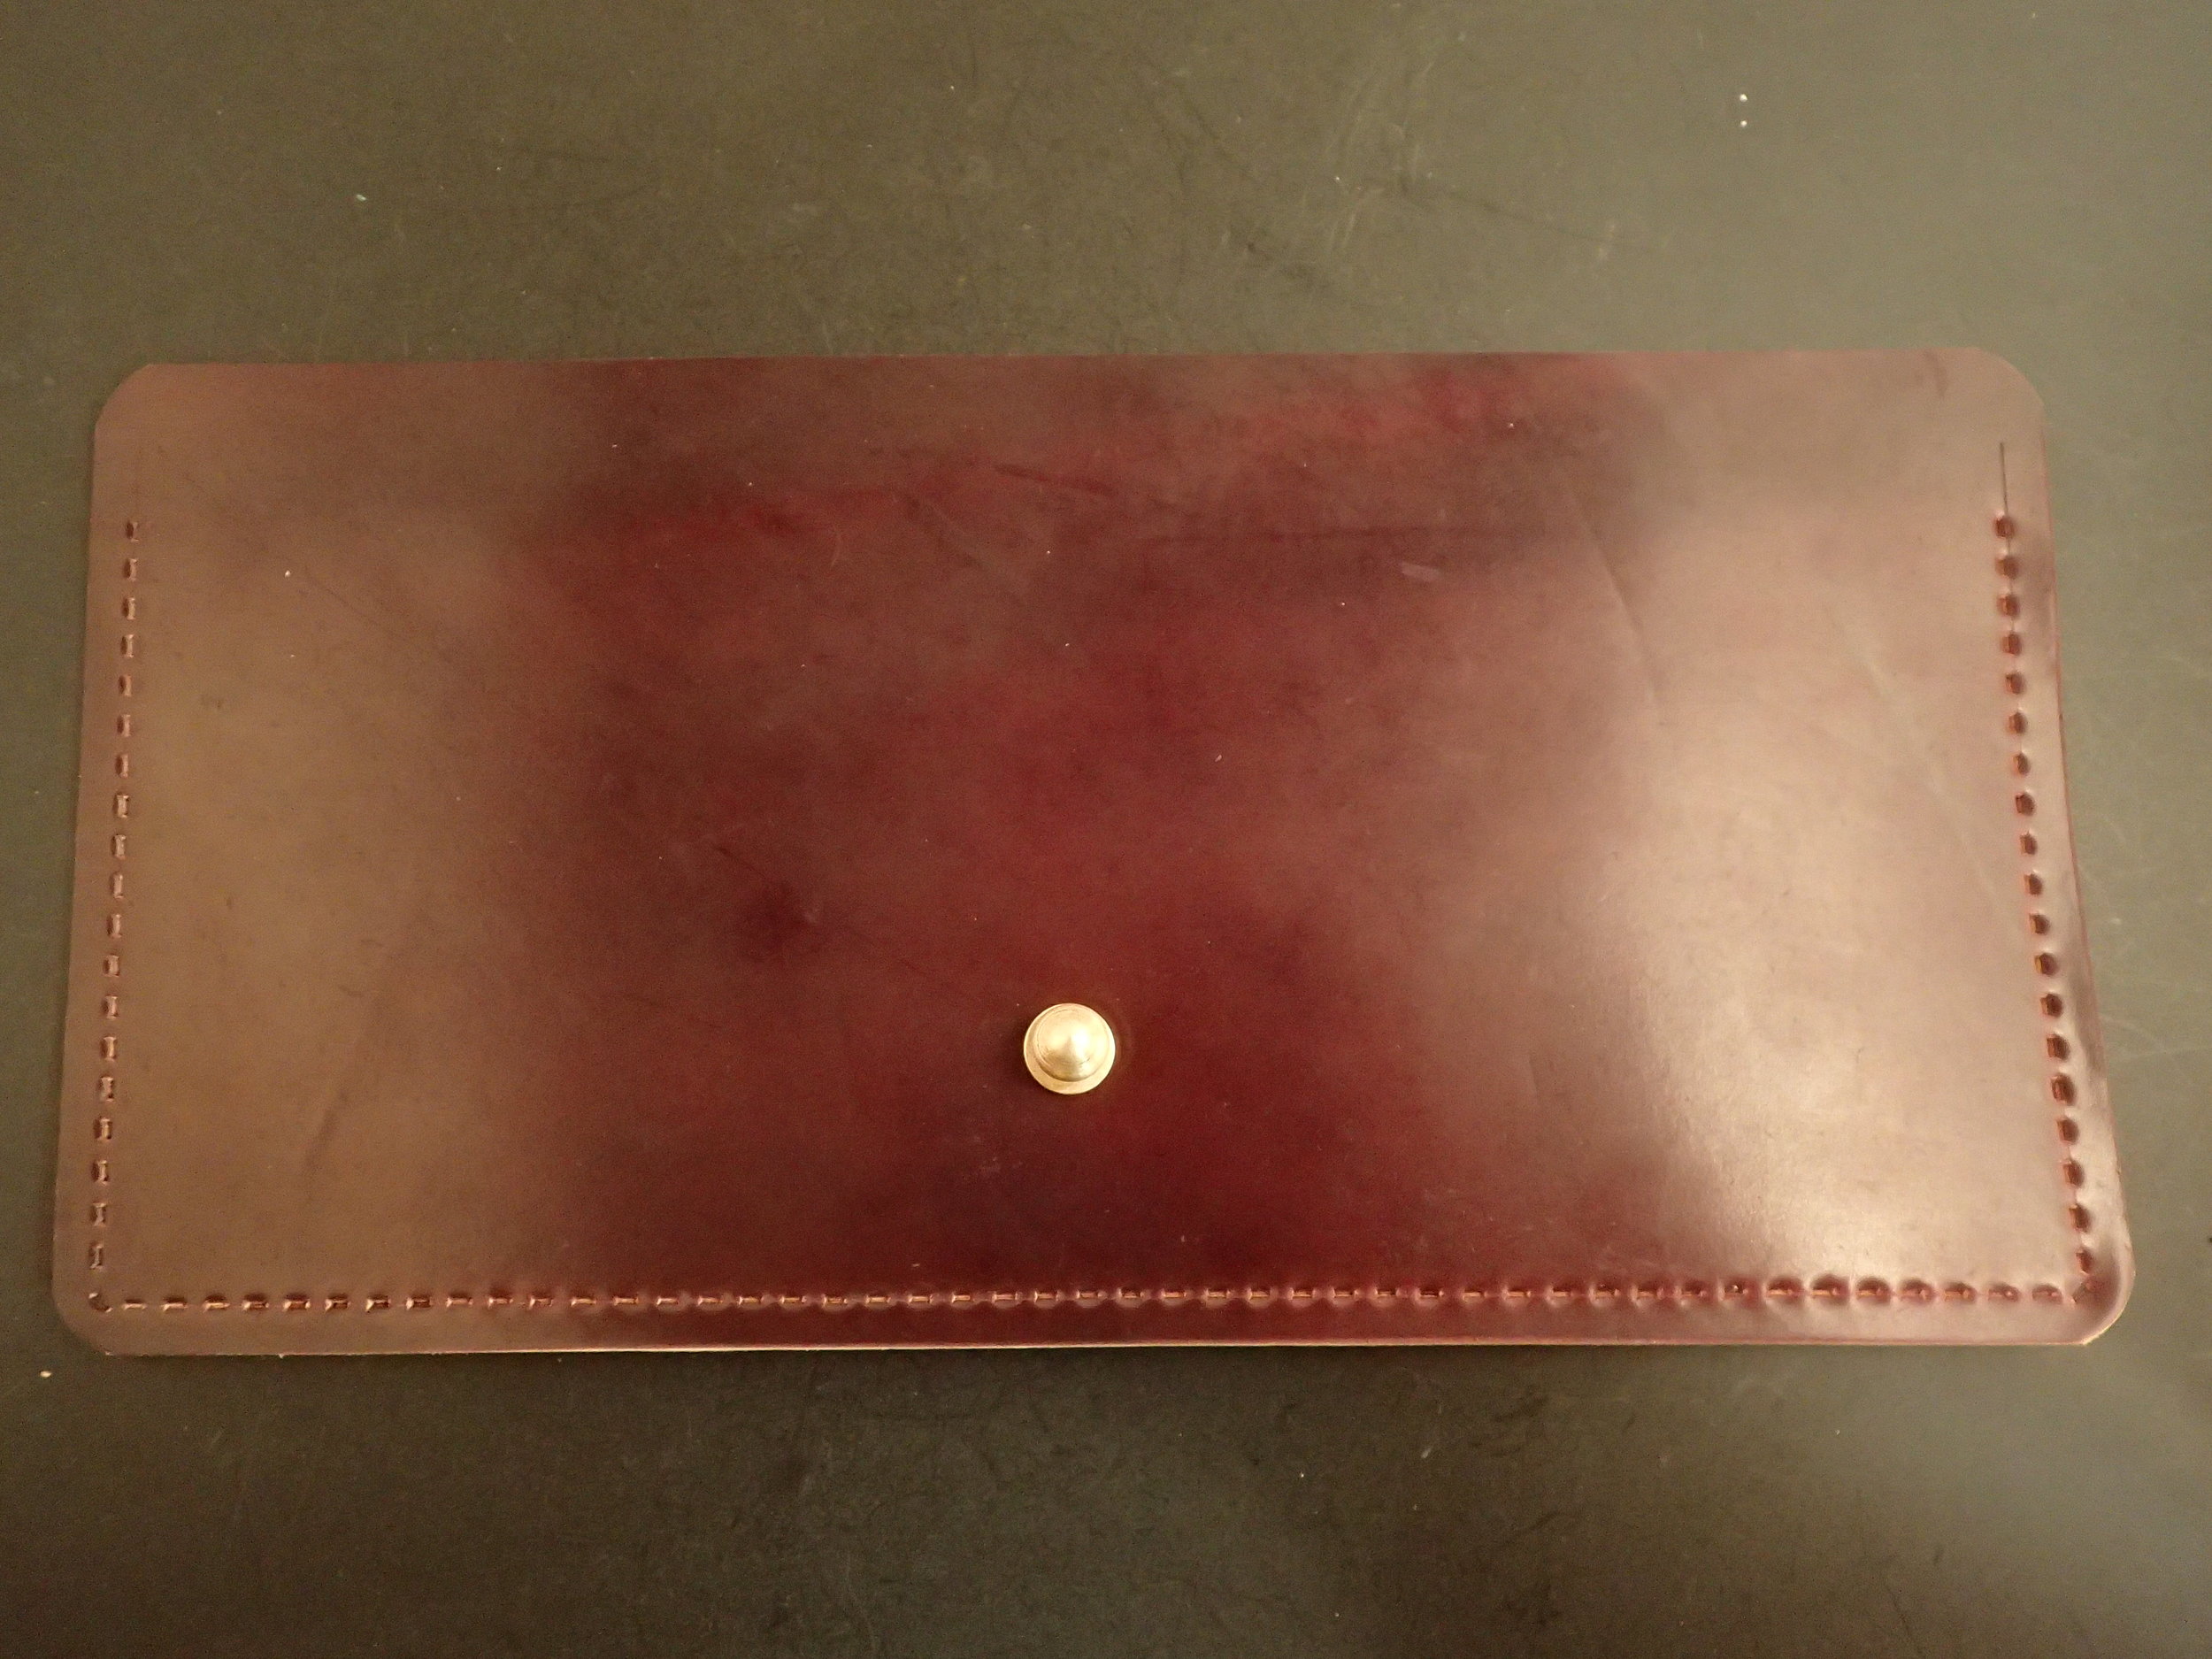
Step 8. The bag's front panel piece is pierced and made ready for sewing. A hole is located along its centerline for the brass pippin stud. The pippin stud is inserted in the hole through the outer face of the front panel piece and the backing plate is coaxed back over its end. A round punch is mis-used for this purpose.

Then a bucking tool is used to peen the end of the pippin stud, distorting its shape and locking it into place against the backing plate on the inside of the bag's front panel. Good to go for another 50 years.

Here is the view from the front. The brass pippin stud looks great.

Step 9. The front panel piece is sewn onto the bag. This is a little trickier than anything assembled so far, since when the the front panel piece is added I am now working in an enclosure.

Perseverance is the key again, and eventually the front panel piece is in place. The Rover Haven logo is stamped into the upper corner before that end is sewn down.


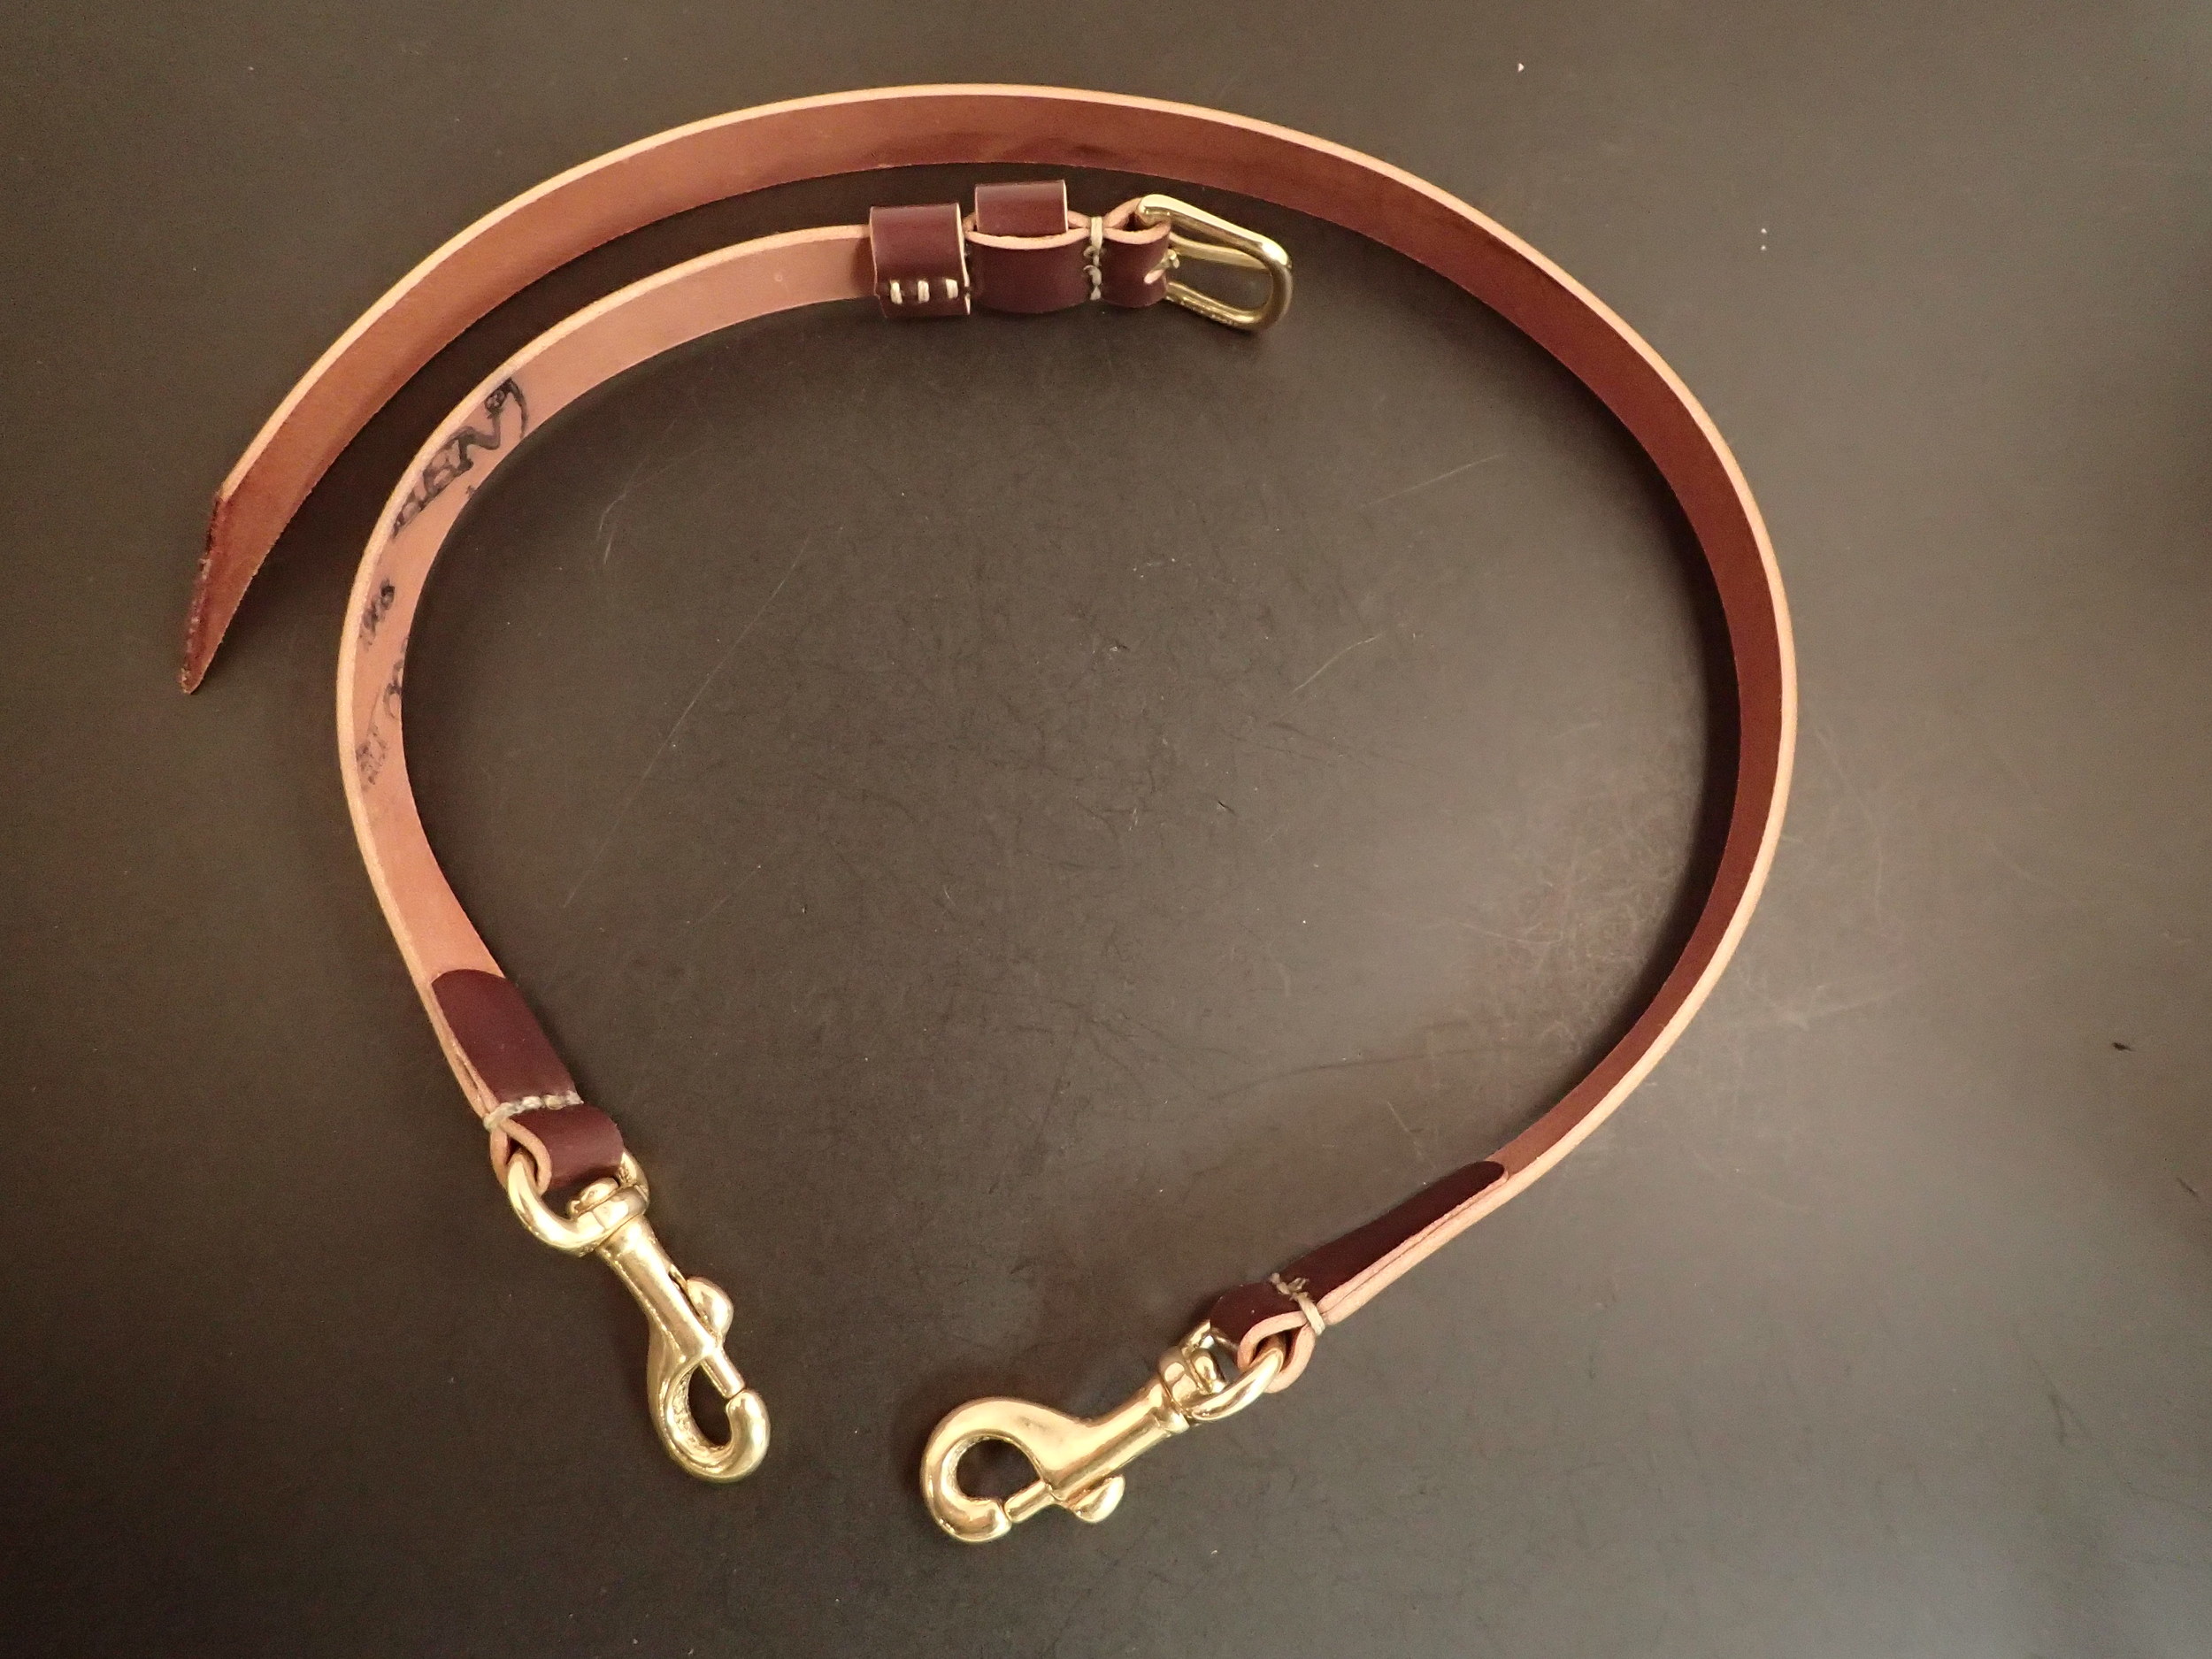
Step 10. The bag's strap is made. The strap has to be both adjustable and removable. Brass trigger clips are used on the ends, and a brass strap buckle is added on the end of one of the straps. One fixed keeper and one floating keeper are built onto the strap, and all the seams are double-sewn for strength.

Step 11. The final detail is to punch the hole for the pippin stud. It is carefully located and then punched using an Osborne pippin punch.

With the hole for the pippin stud placed perfectly, the bag now closes with certainty.

This handcrafted one of a kind item is finished and will make a handsome and functional gentleman's EDC bag that will last its owner for many years.